
How to photograph jewelry
How to Photograph Jewelry at Home: A Step-by-Step Guide
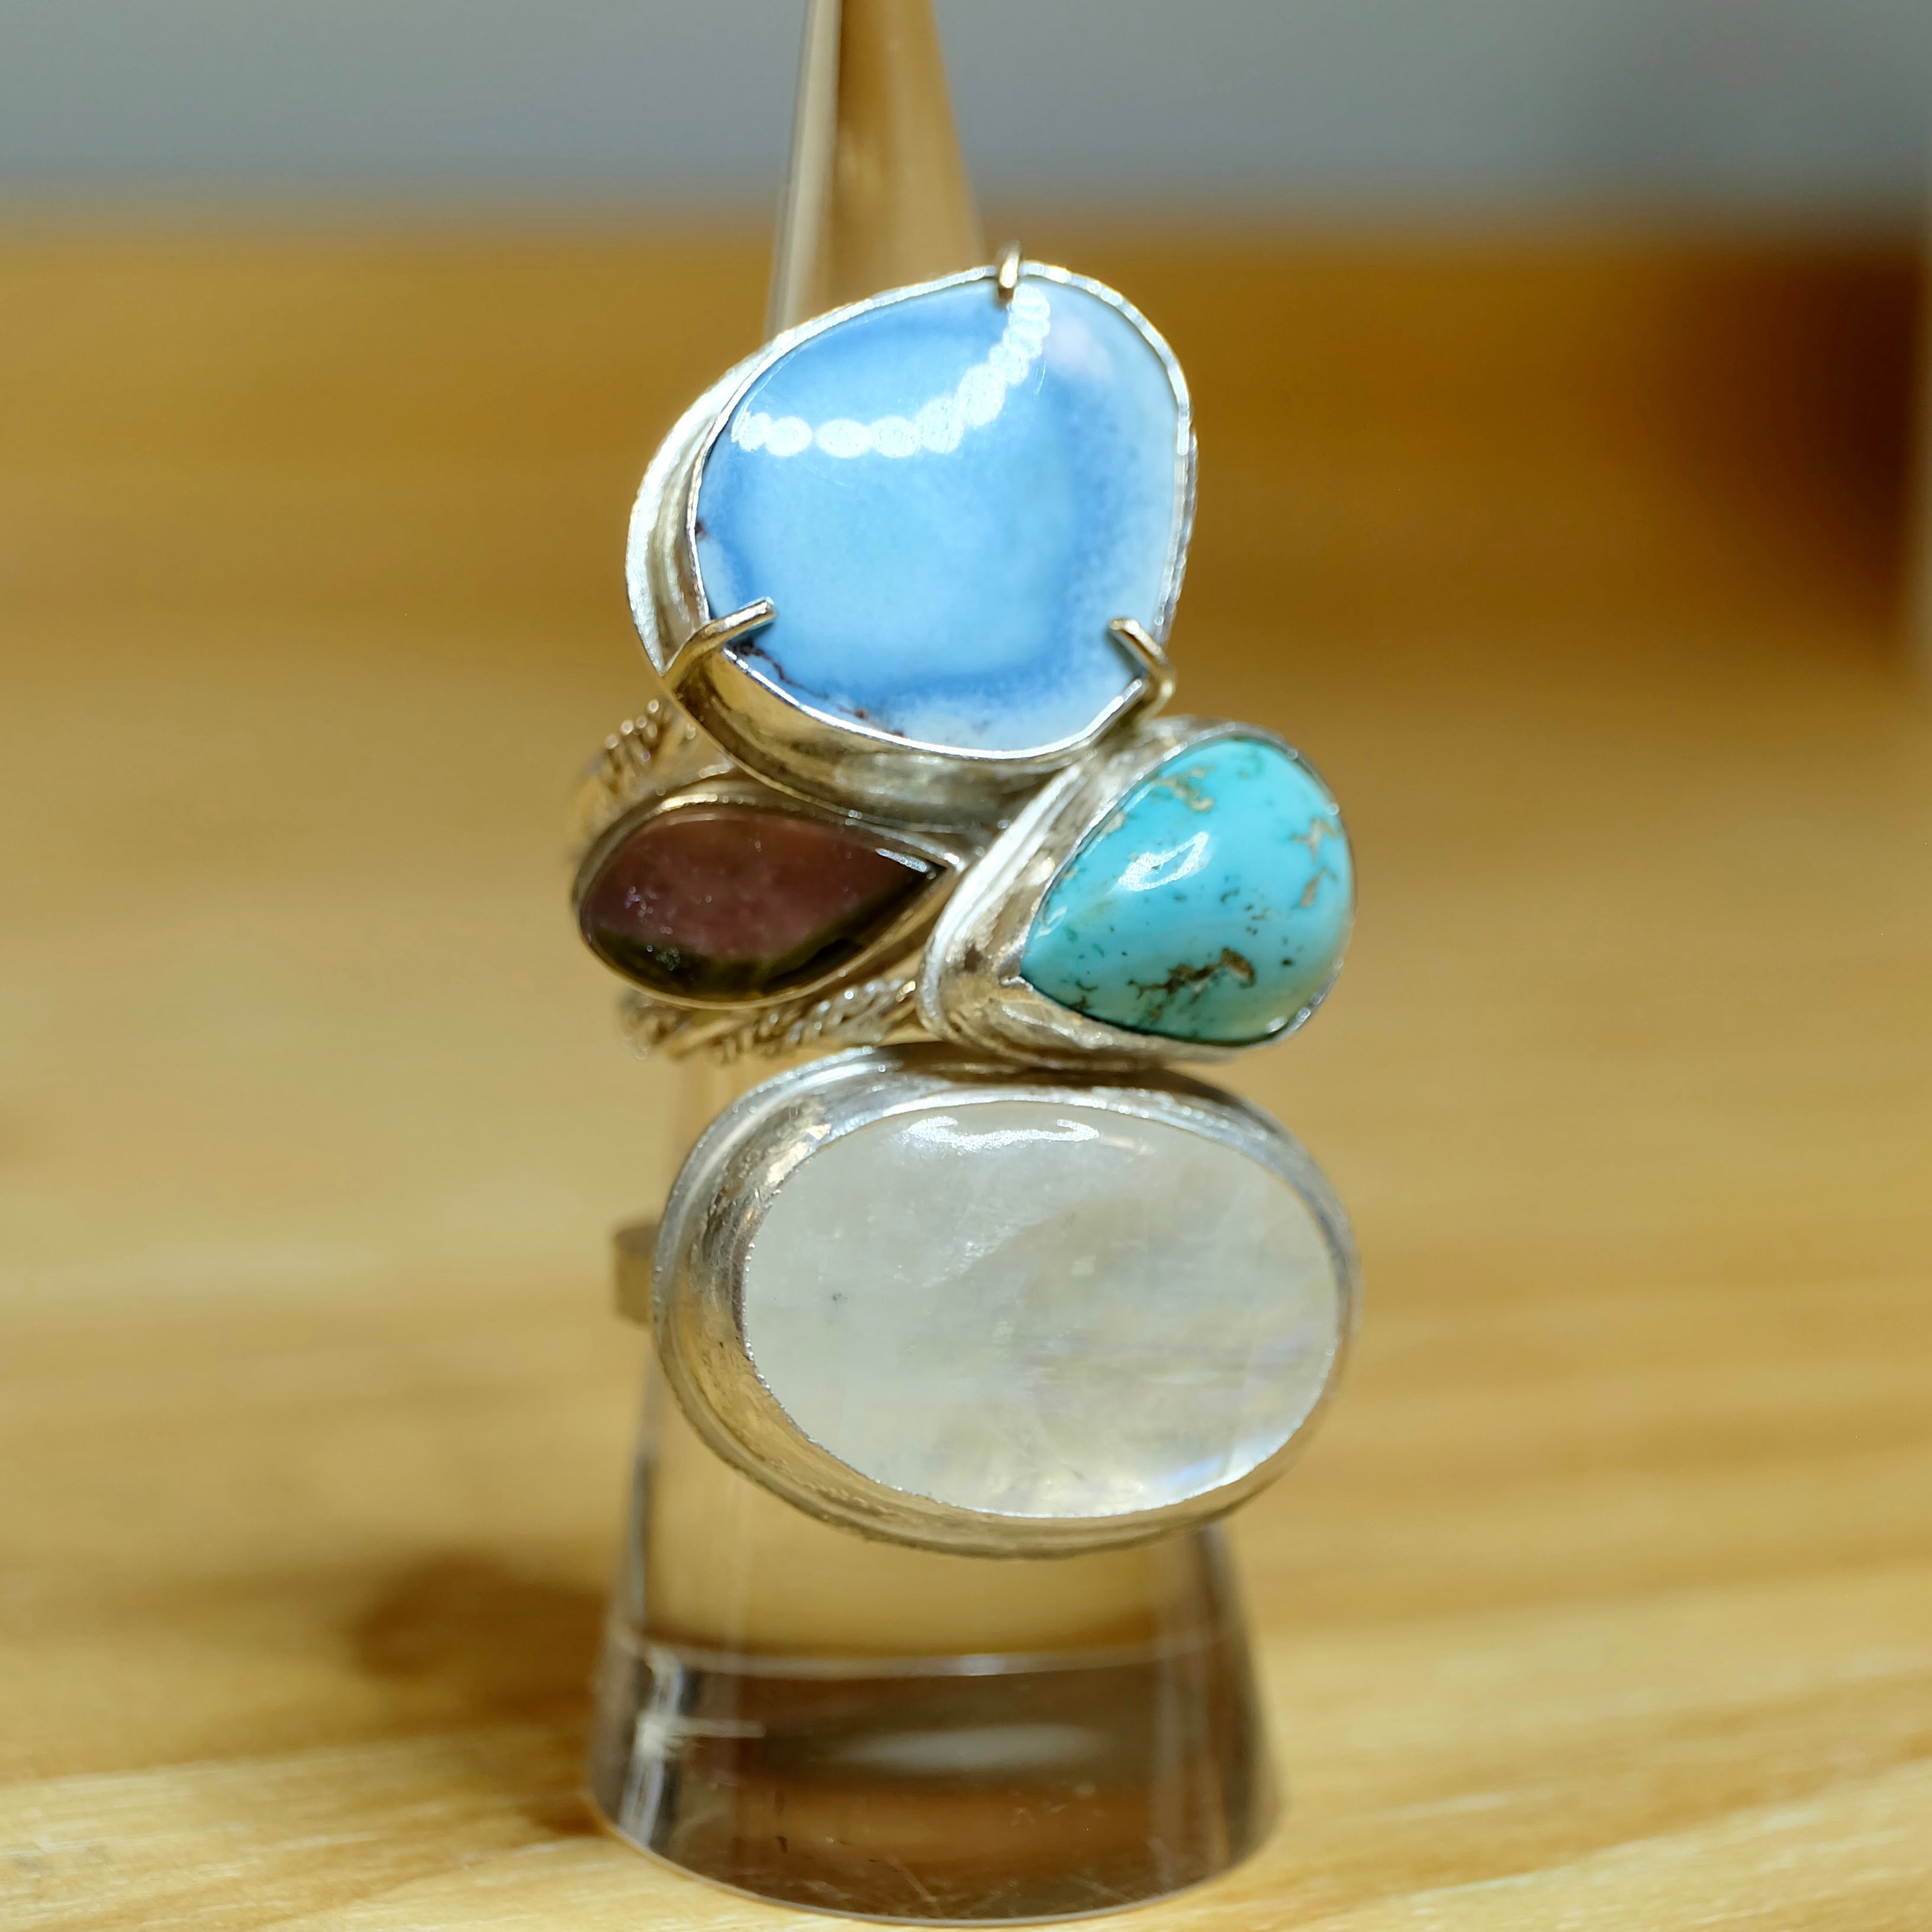
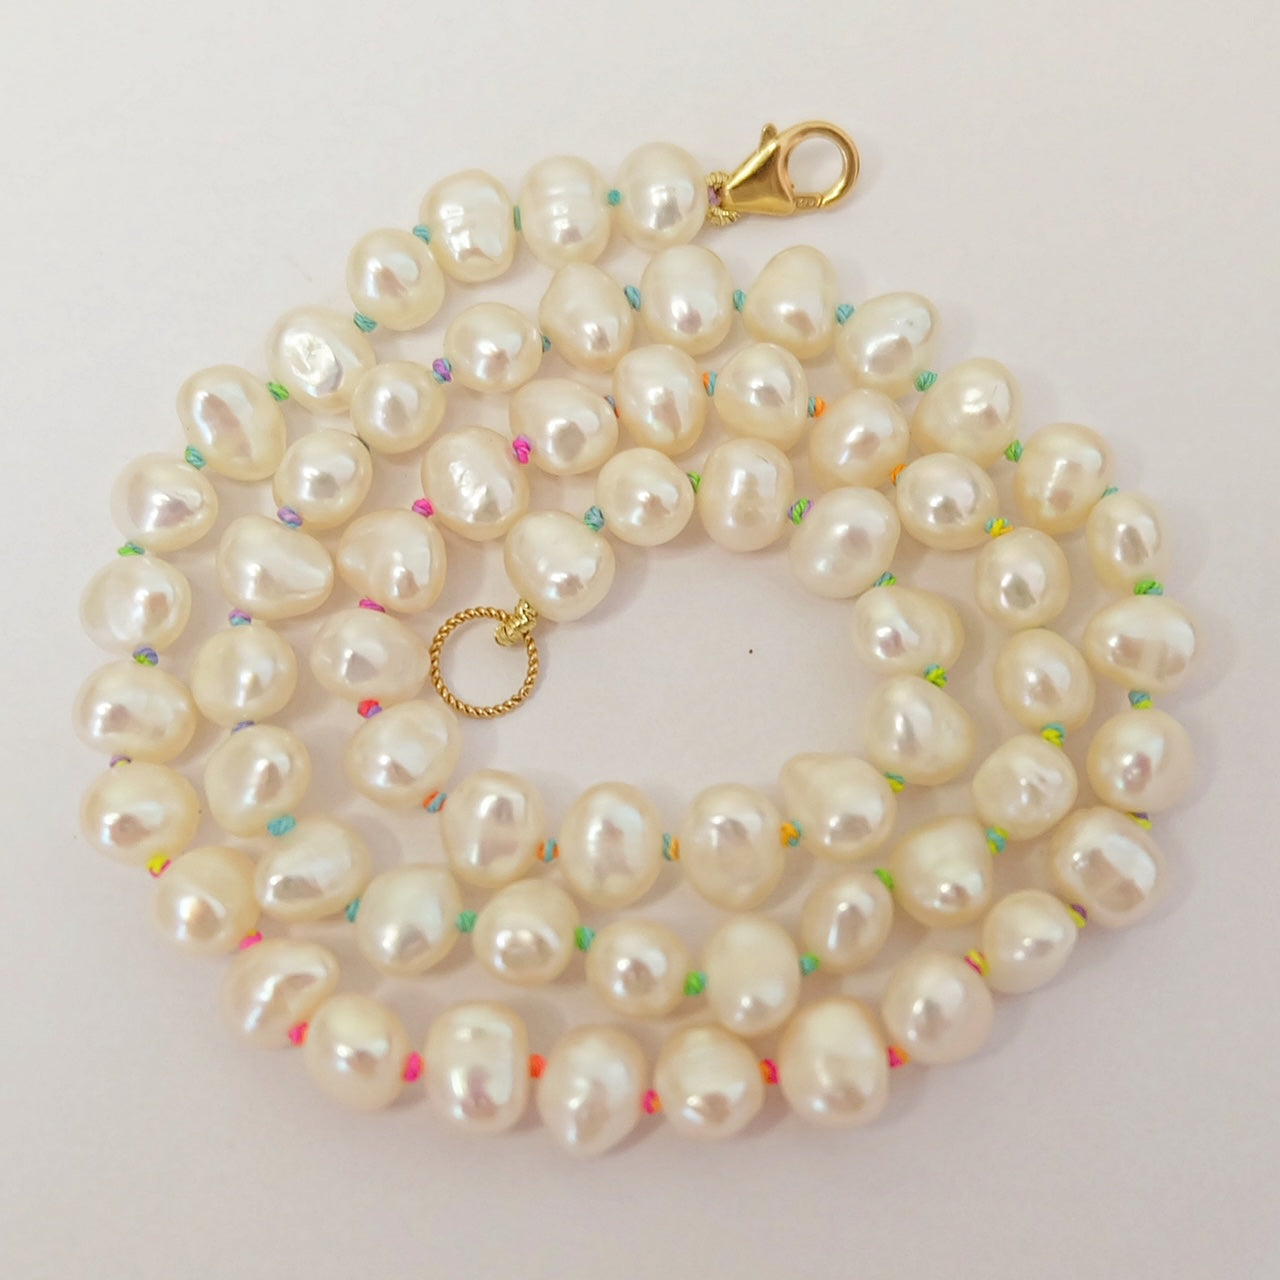
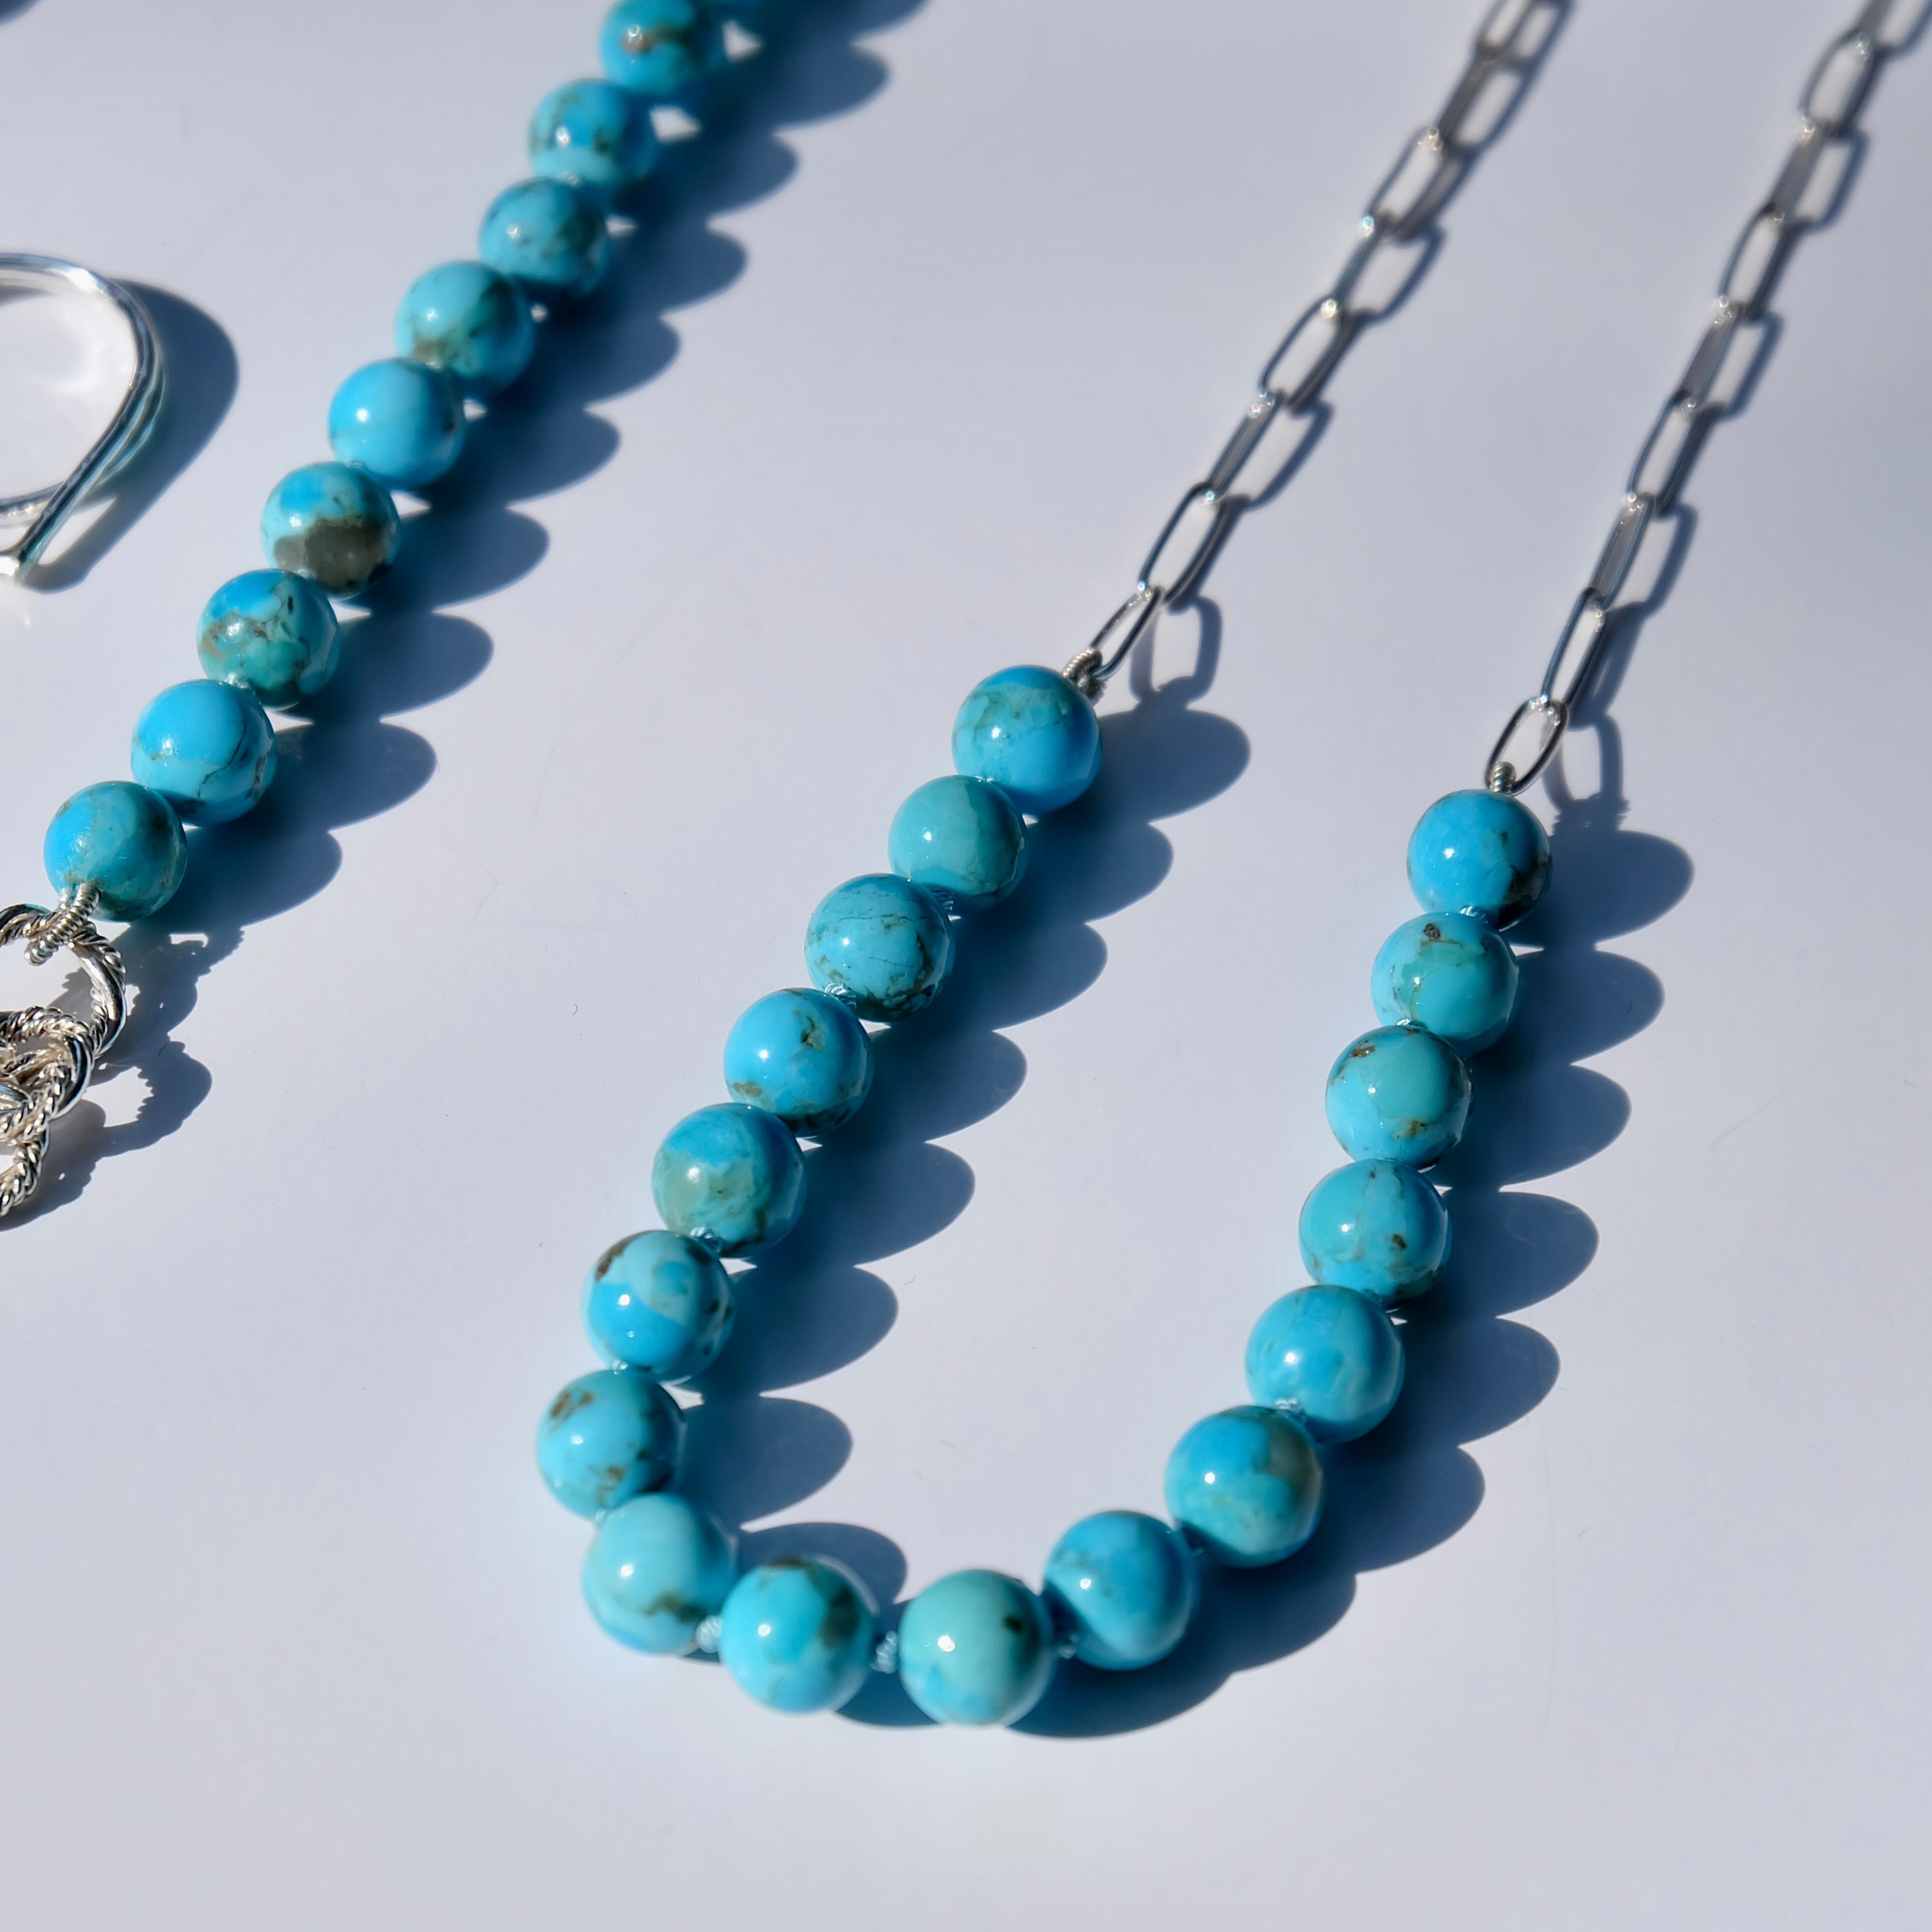
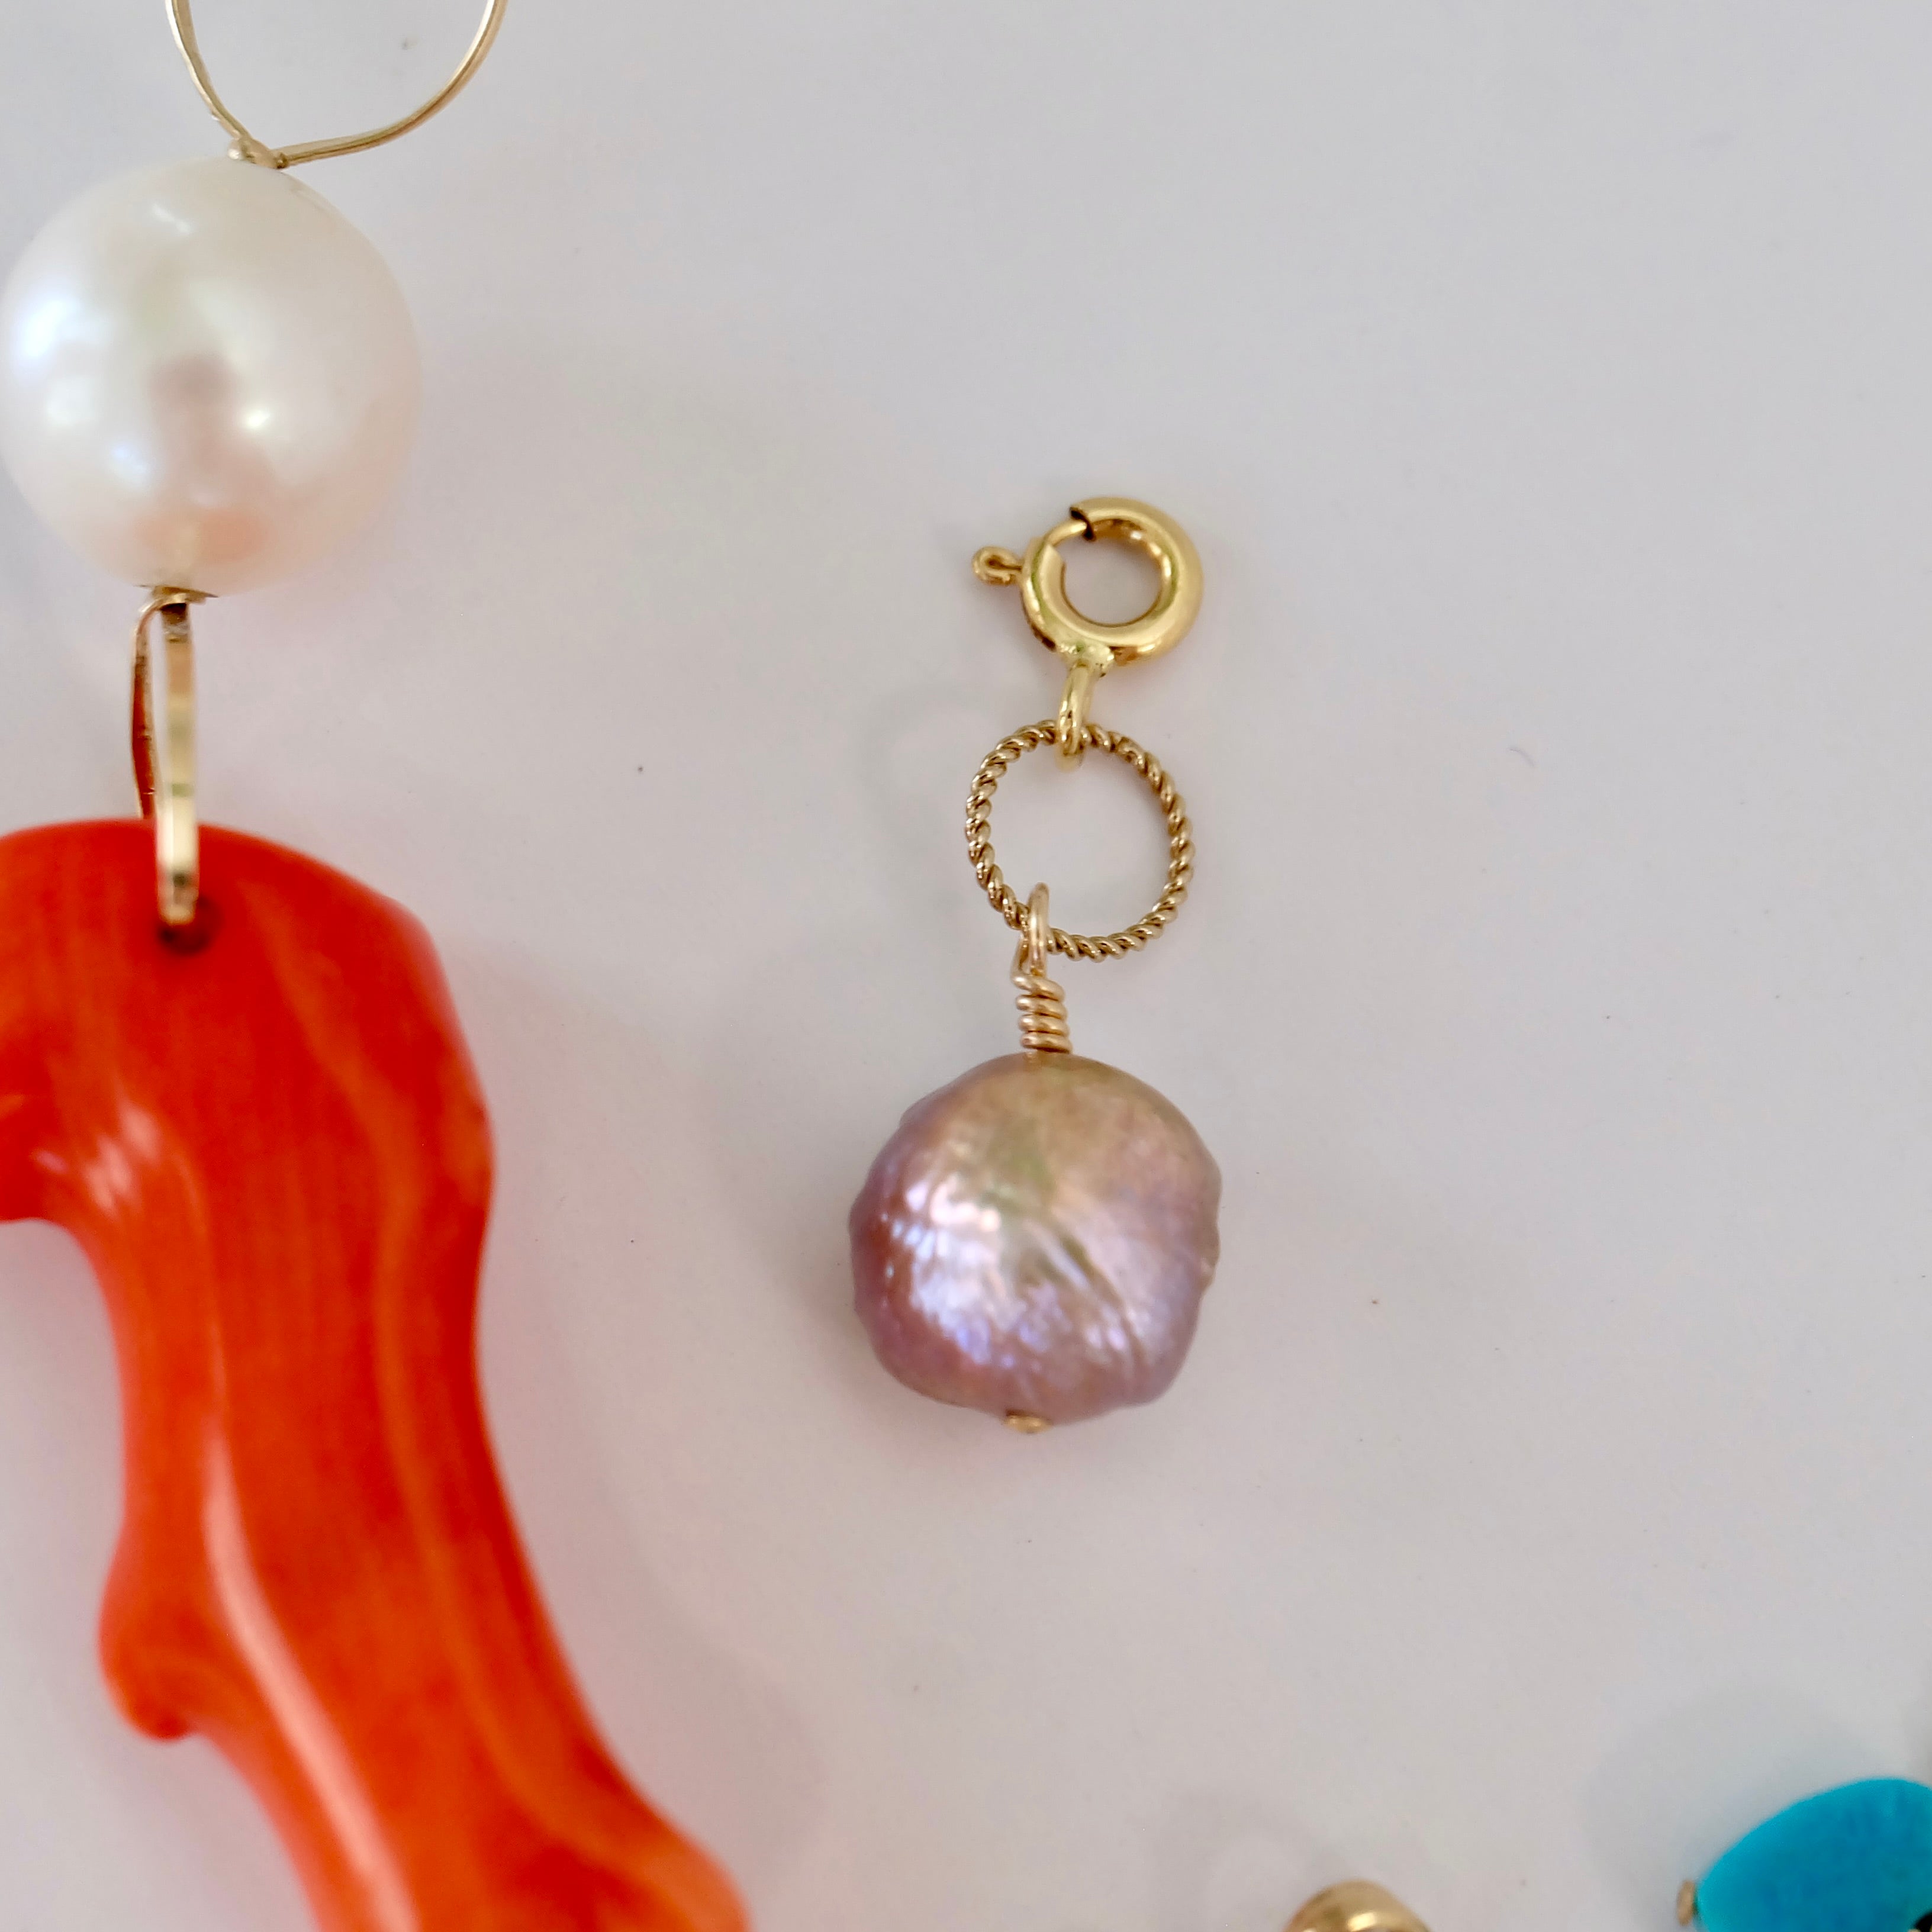
Capturing the perfect shot of your jewelry at home can be both fun and rewarding when you know the right techniques.
Setting Up Your Photography Space
Creating the perfect photography space is the first step in capturing stunning jewelry photos. Choose a clutter-free area with plenty of natural light. A clean, white table or desk can serve as an ideal surface. You might also consider using a lightbox to control reflections and shadows.
Keep your space organized and have all your tools within reach. This includes your camera, tripod, lighting equipment, and any props you plan to use. A well-prepared space will make the photography process smoother and more enjoyable.
Choosing the Right Lighting
Lighting is crucial when photographing jewelry. Natural light is often the best choice, as it brings out the true colors and details of your pieces. Position your setup near a window to take advantage of soft, diffused sunlight. Avoid direct sunlight, which can create harsh shadows and reflections.
If natural light is not an option, invest in artificial lighting. LED lights are a popular choice among jewelry photographers. Use softboxes or diffusers to soften the light and reduce harsh shadows. Experiment with different lighting angles to find the most flattering setup for your jewelry.
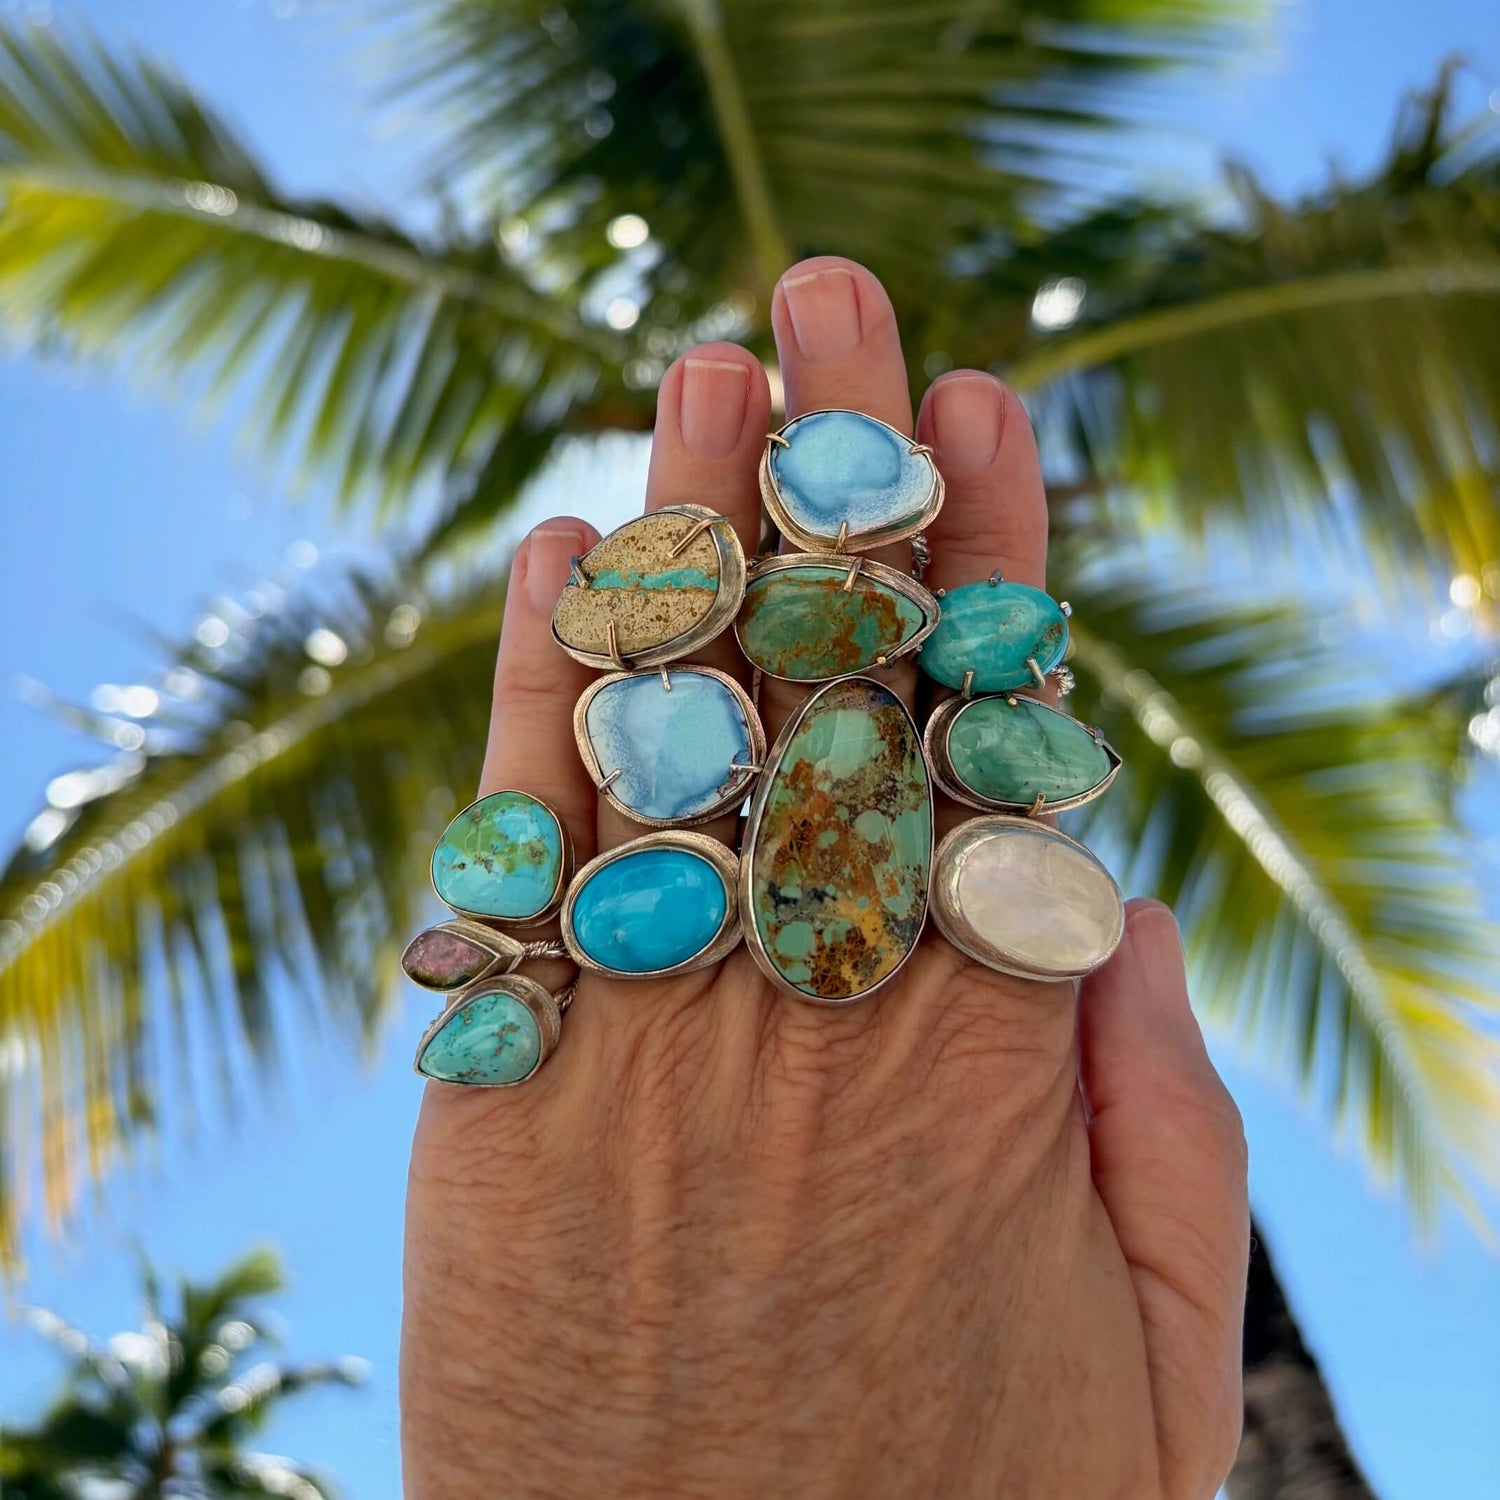
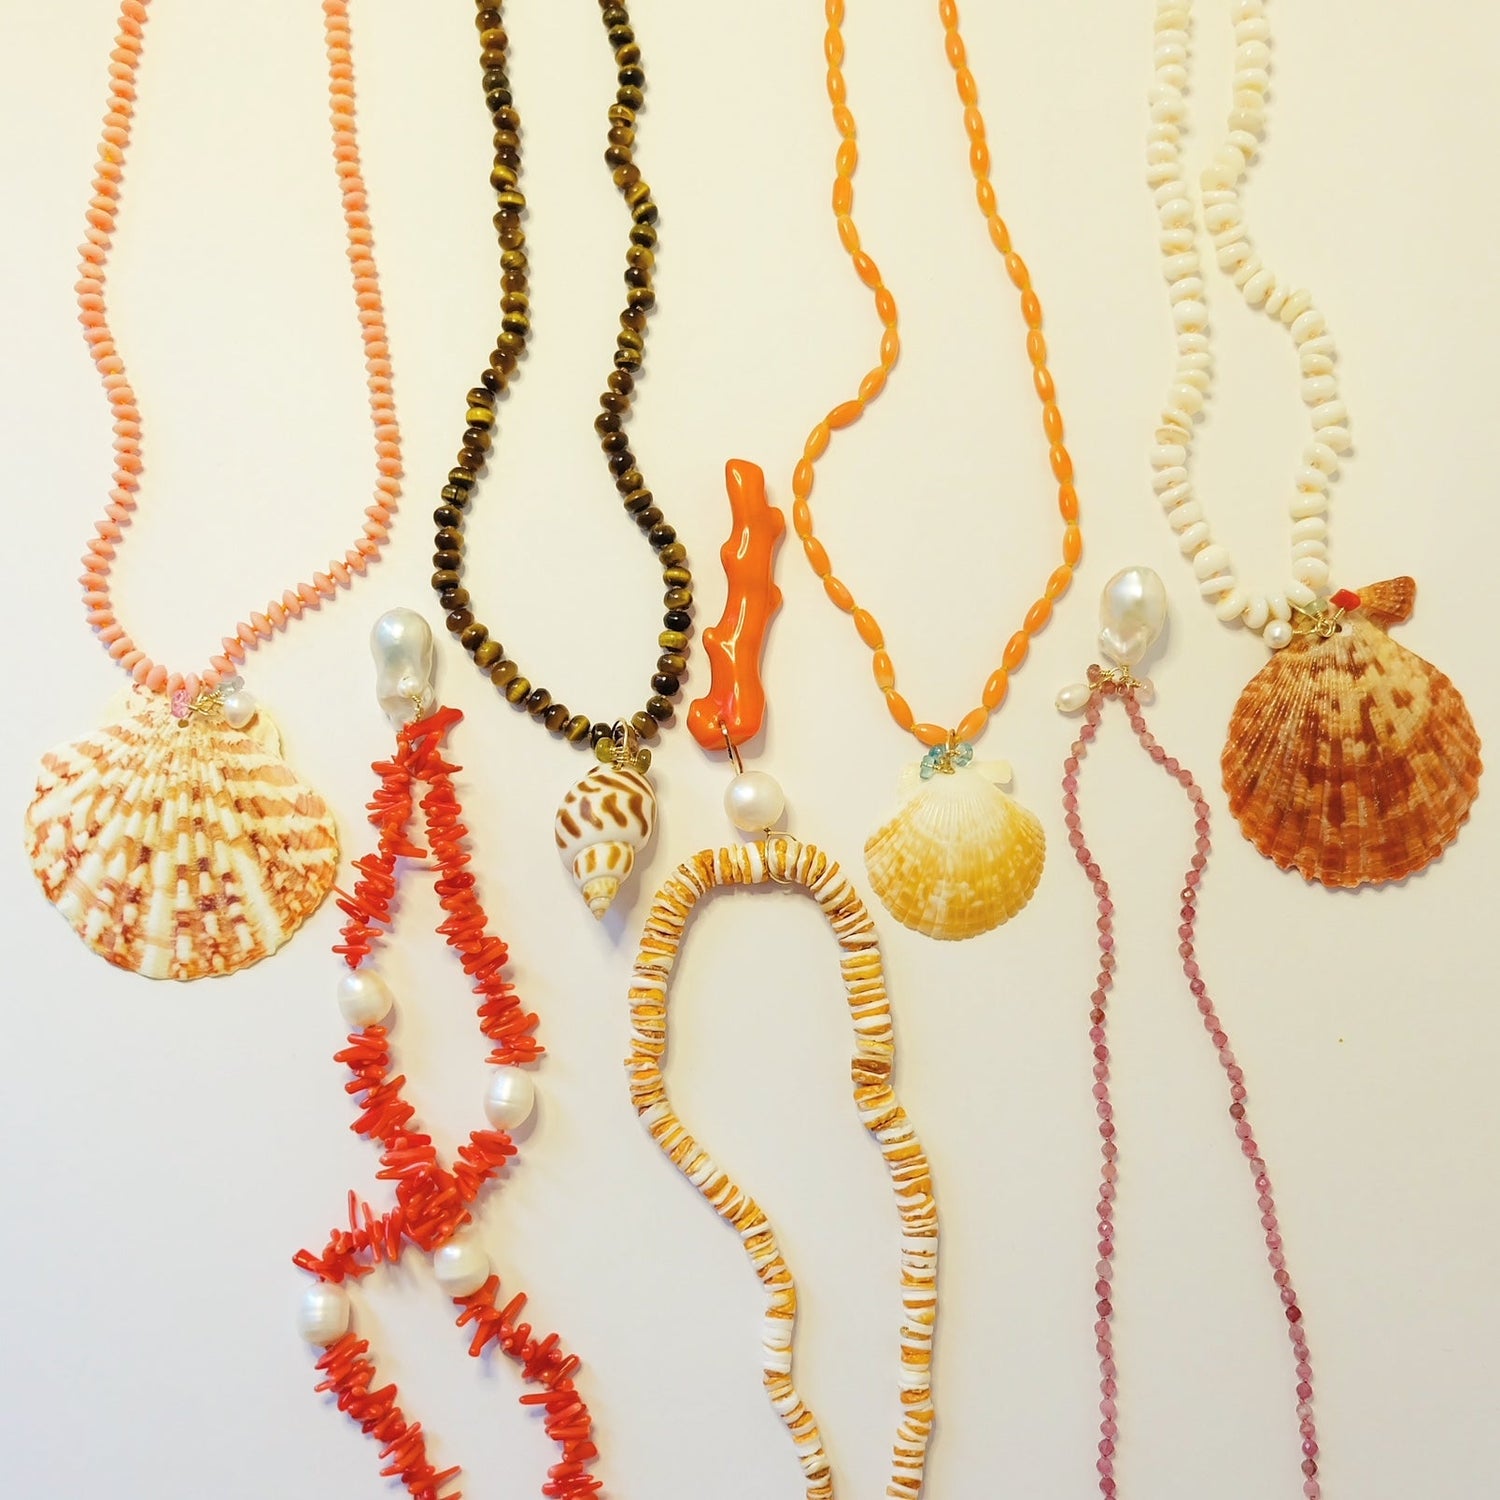
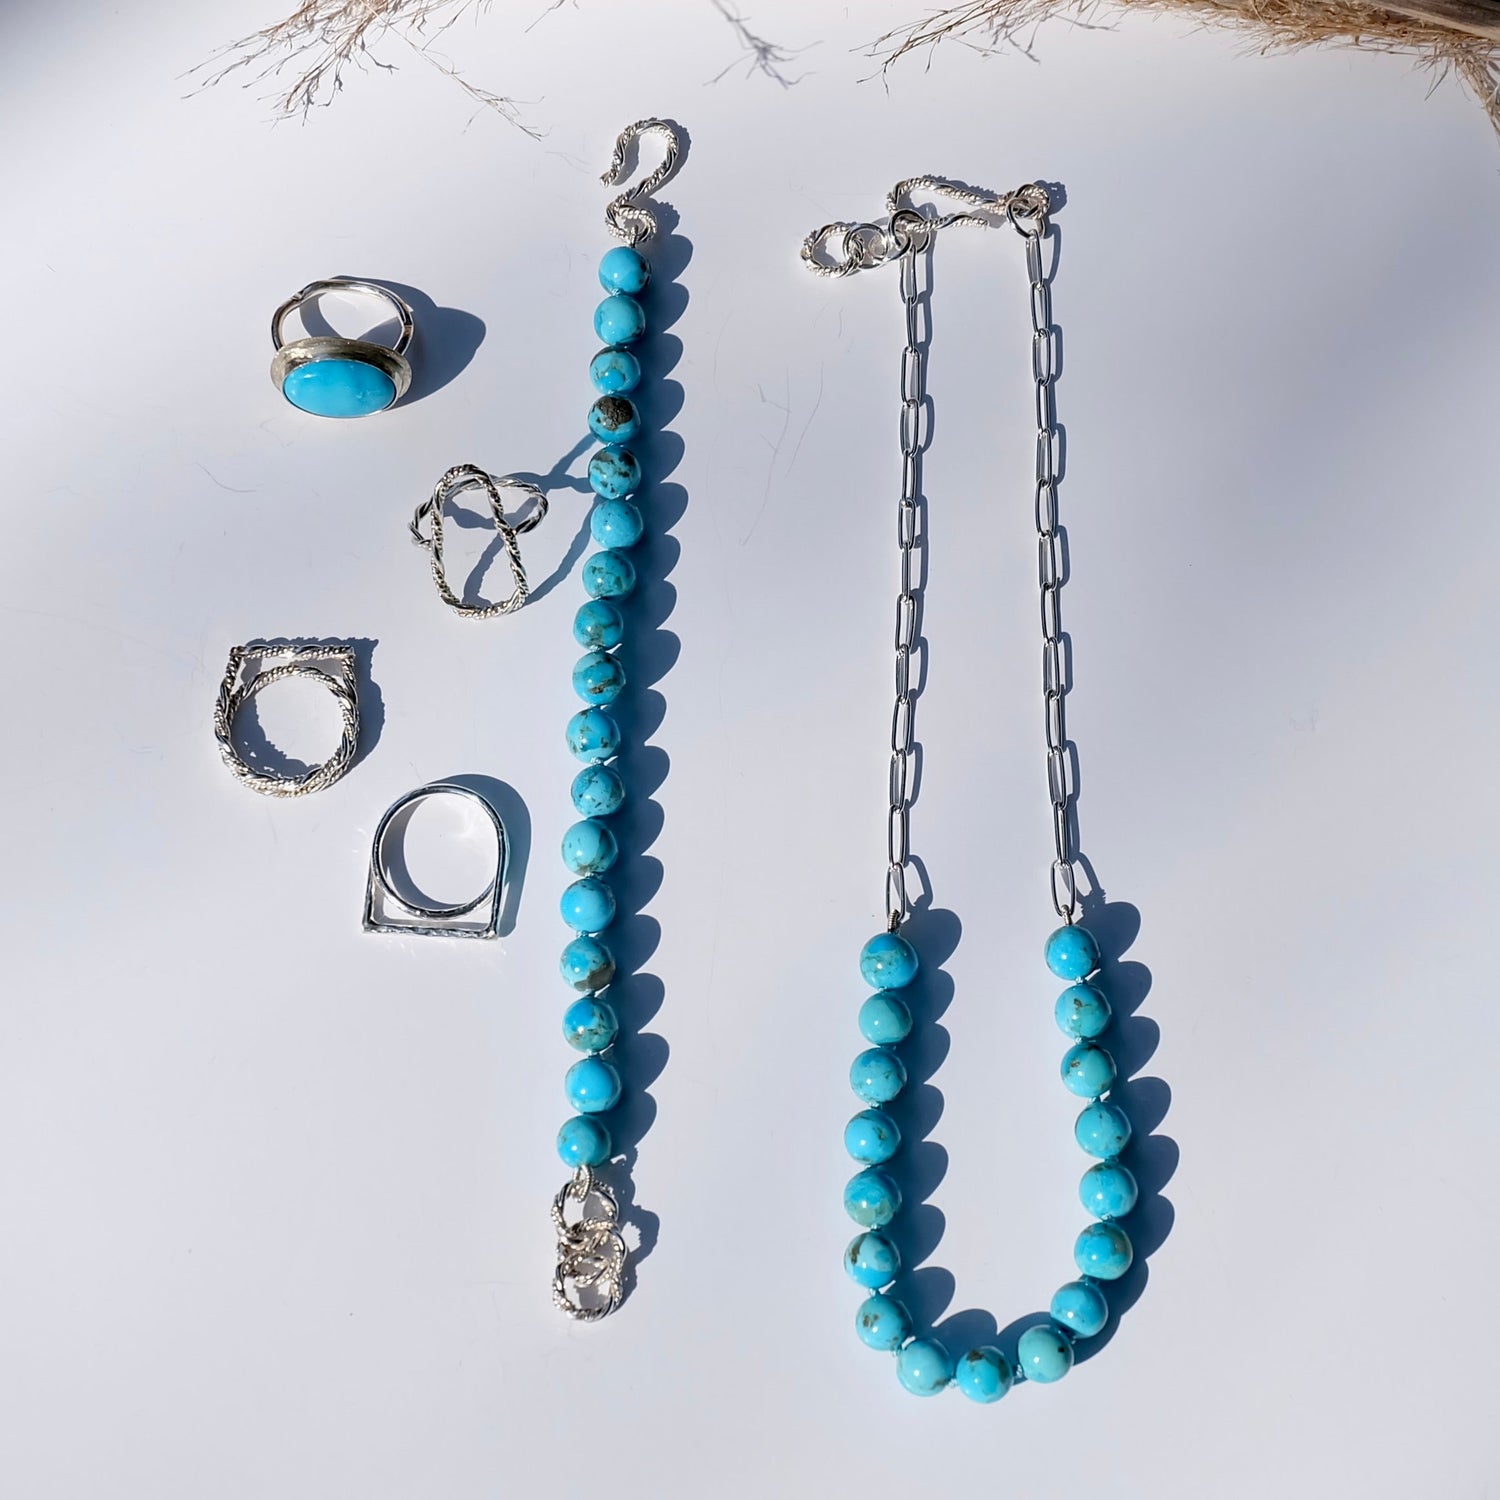
Selecting Backgrounds and Props
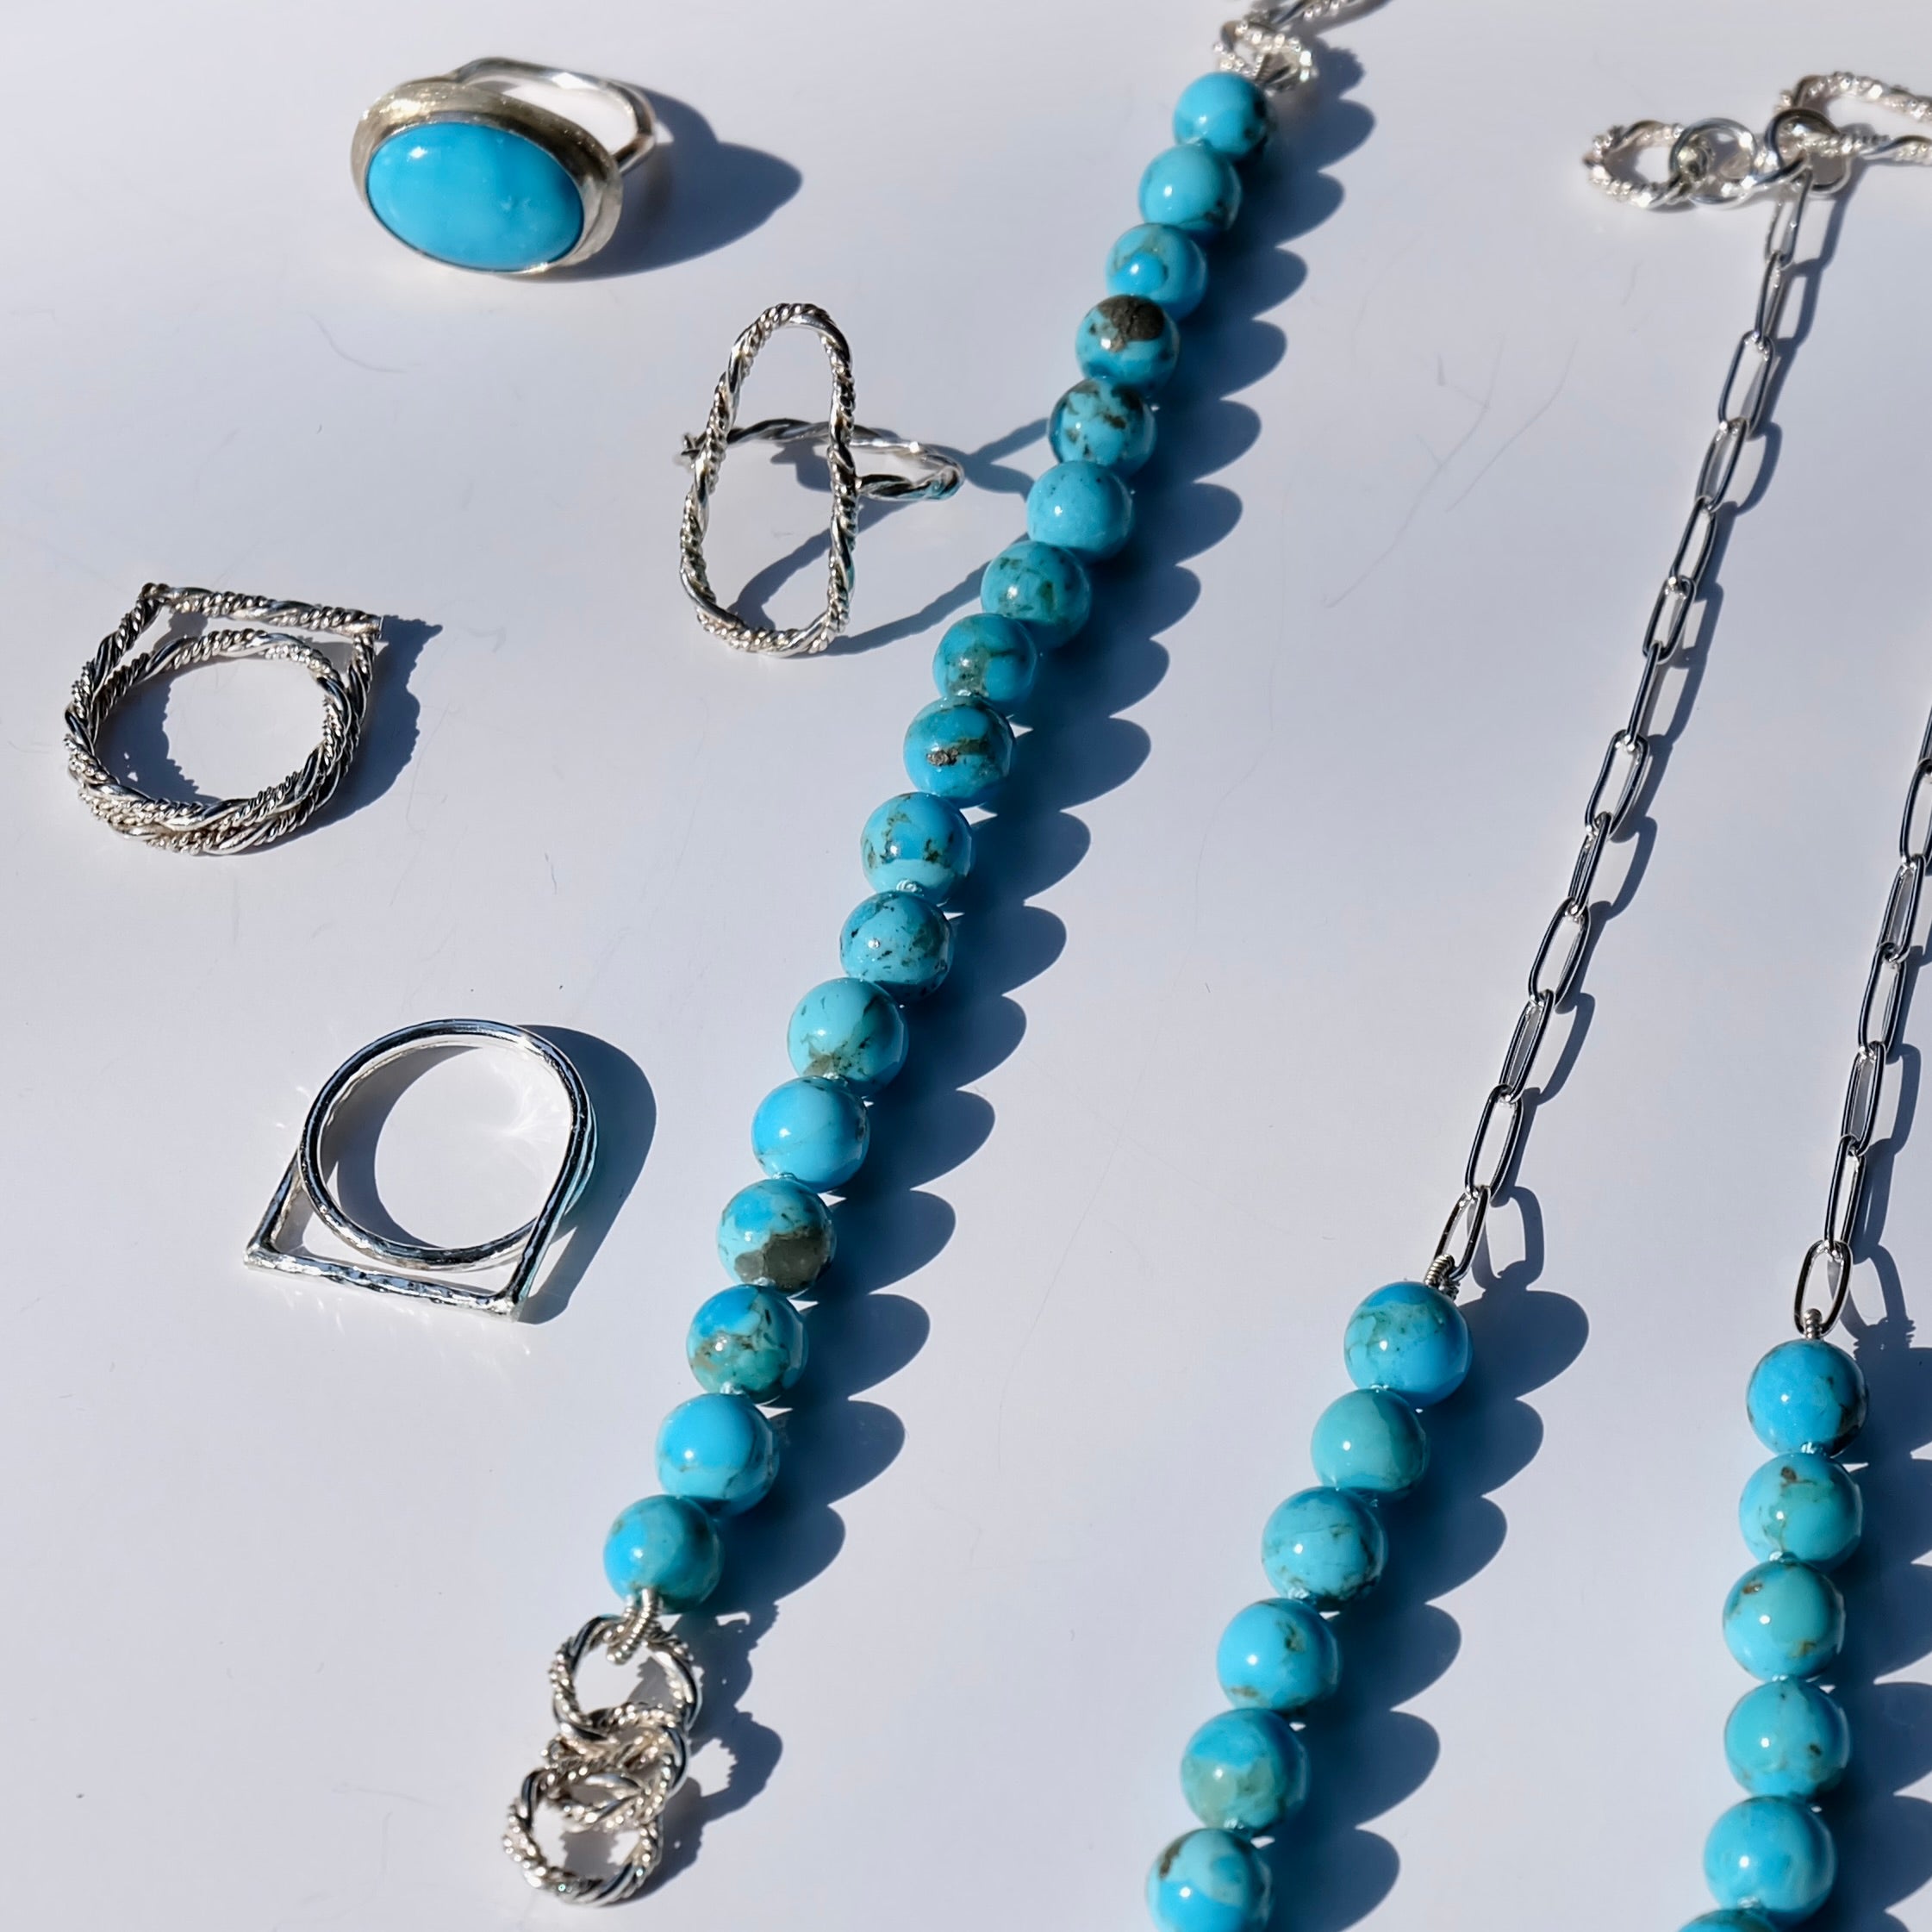
The background you choose for your jewelry photography can significantly impact the final image. Simple, neutral backgrounds often work best, as they do not distract from the jewelry itself. White, black, or gray backdrops are popular choices. For a more creative touch, you can use textured backgrounds such as marble or wood.
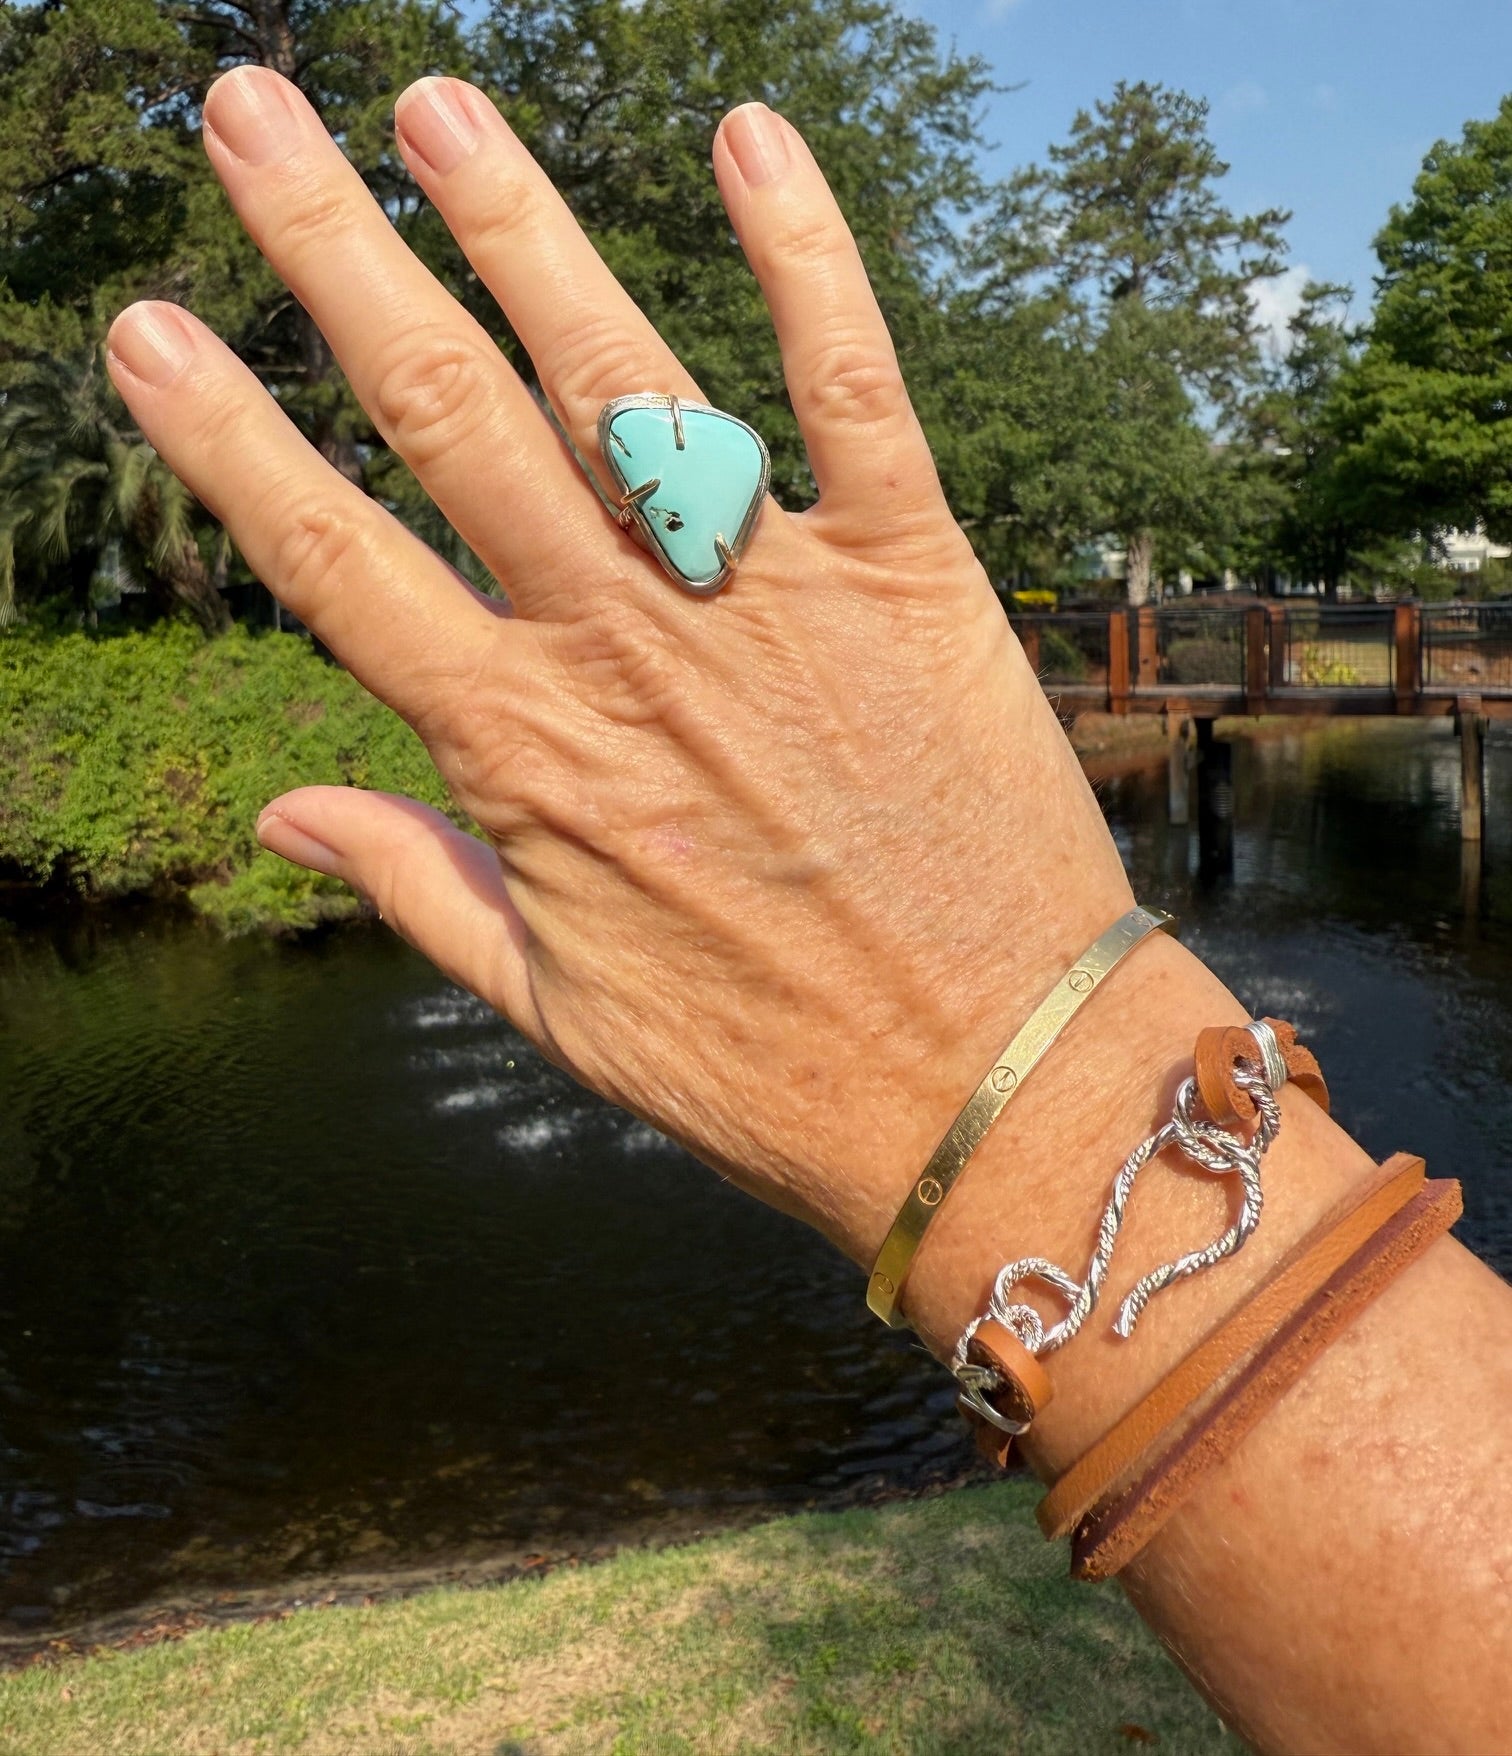
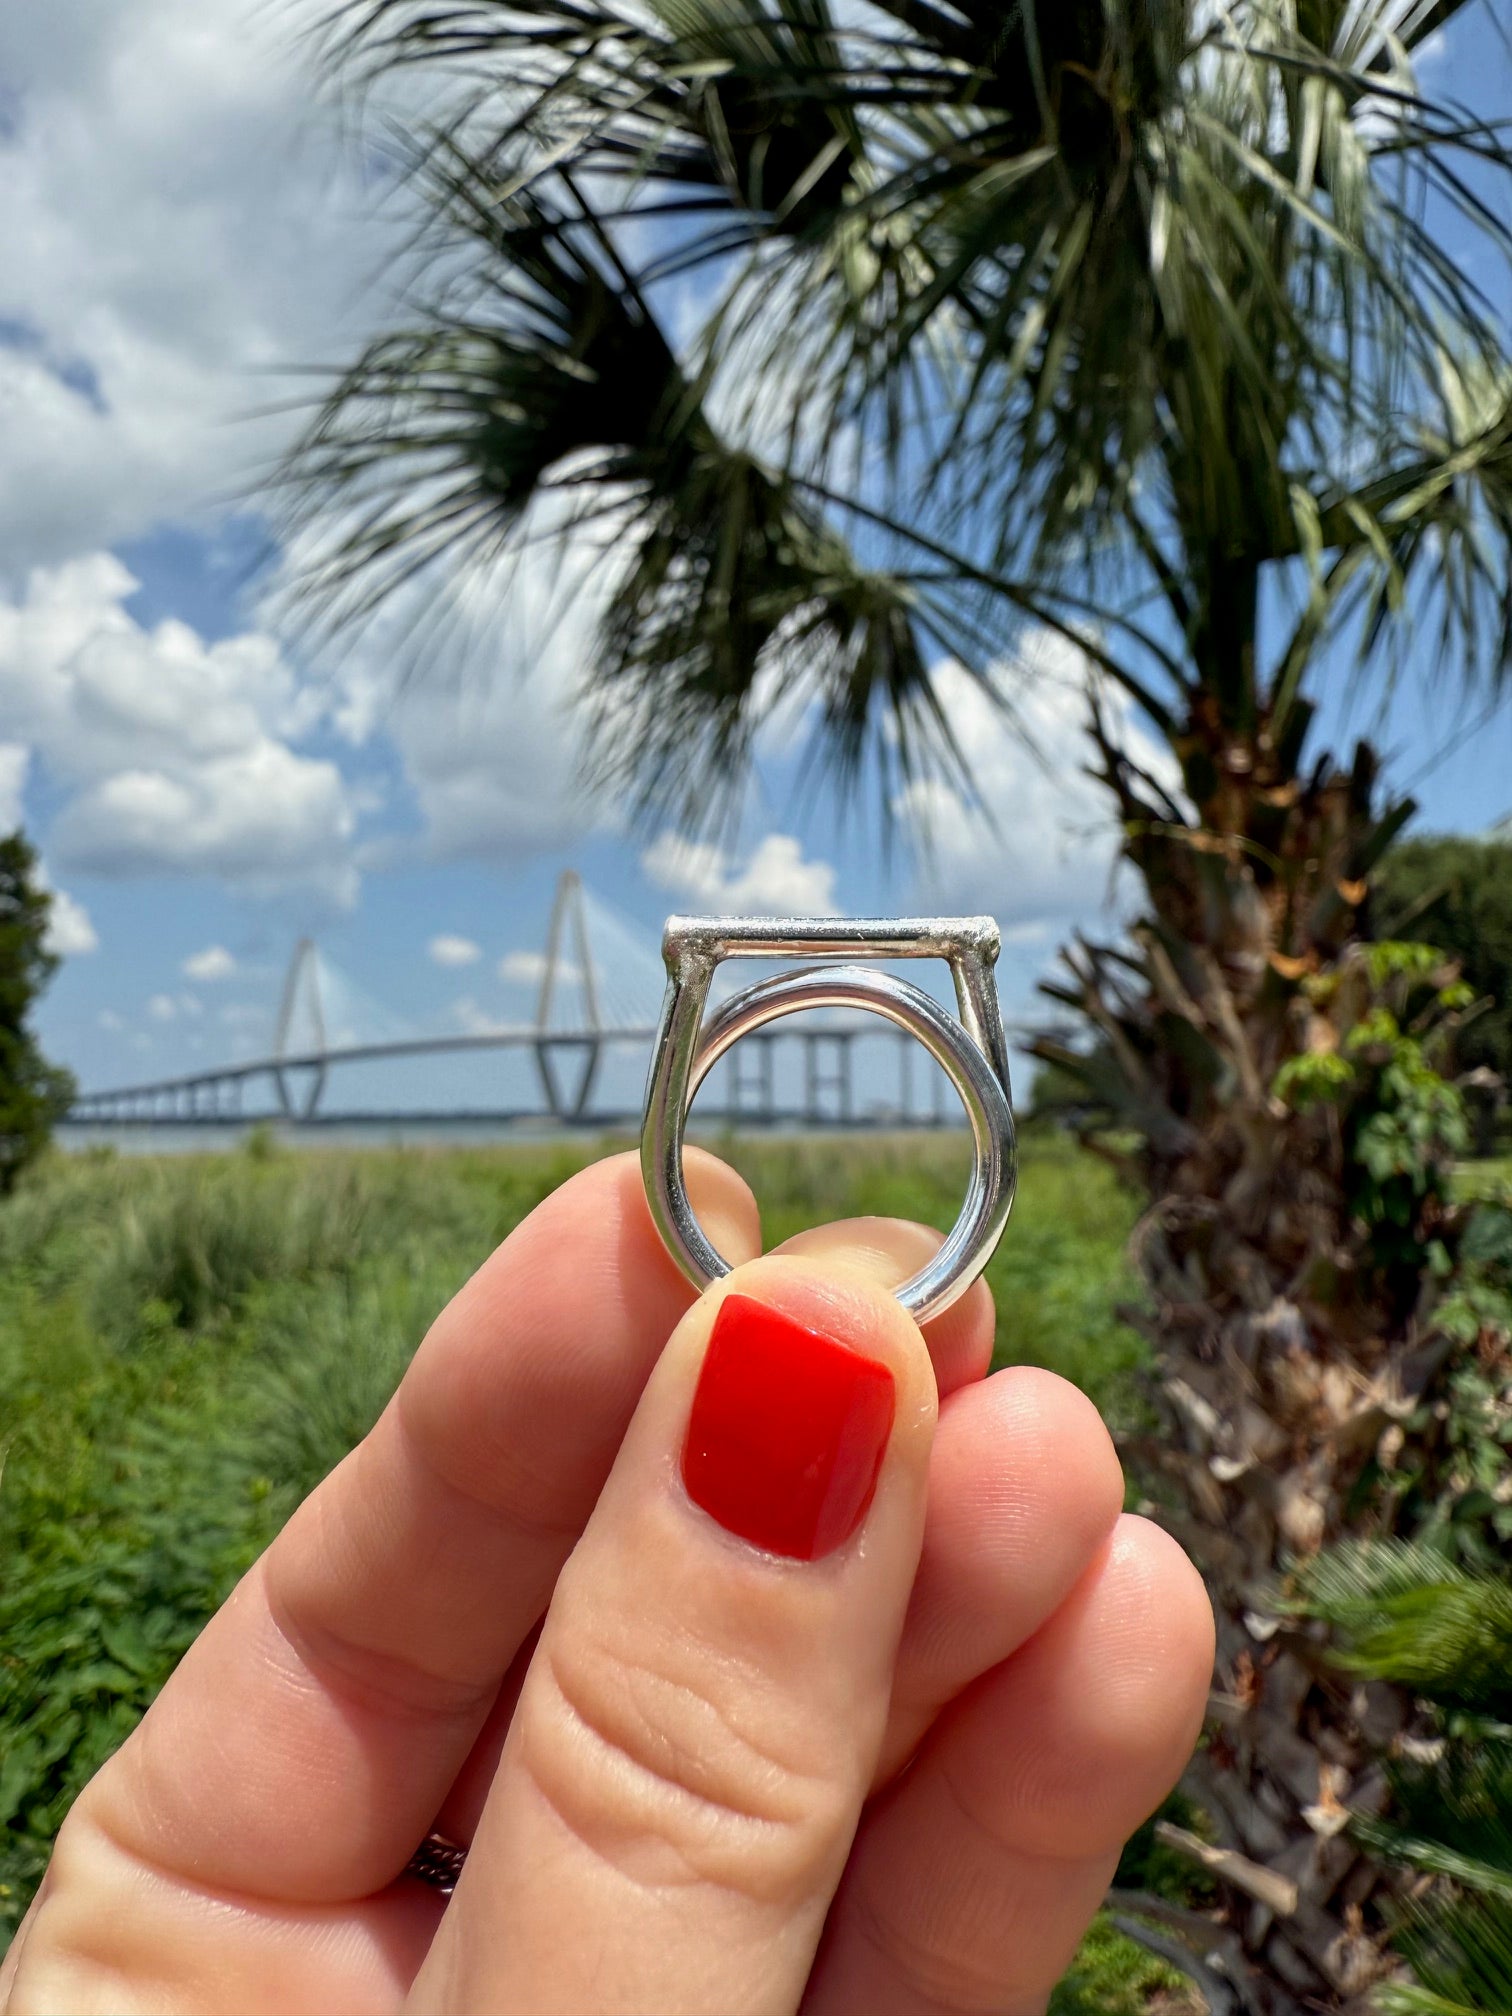
Props can add context and interest to your photos, but use them sparingly. A minimal approach often yields the best results. Consider using elements that complement your jewelry, such as flowers, fabrics, or small decorative items. Ensure that the props do not overshadow the main subject – your jewelry.
Mastering Camera Settings and Angles
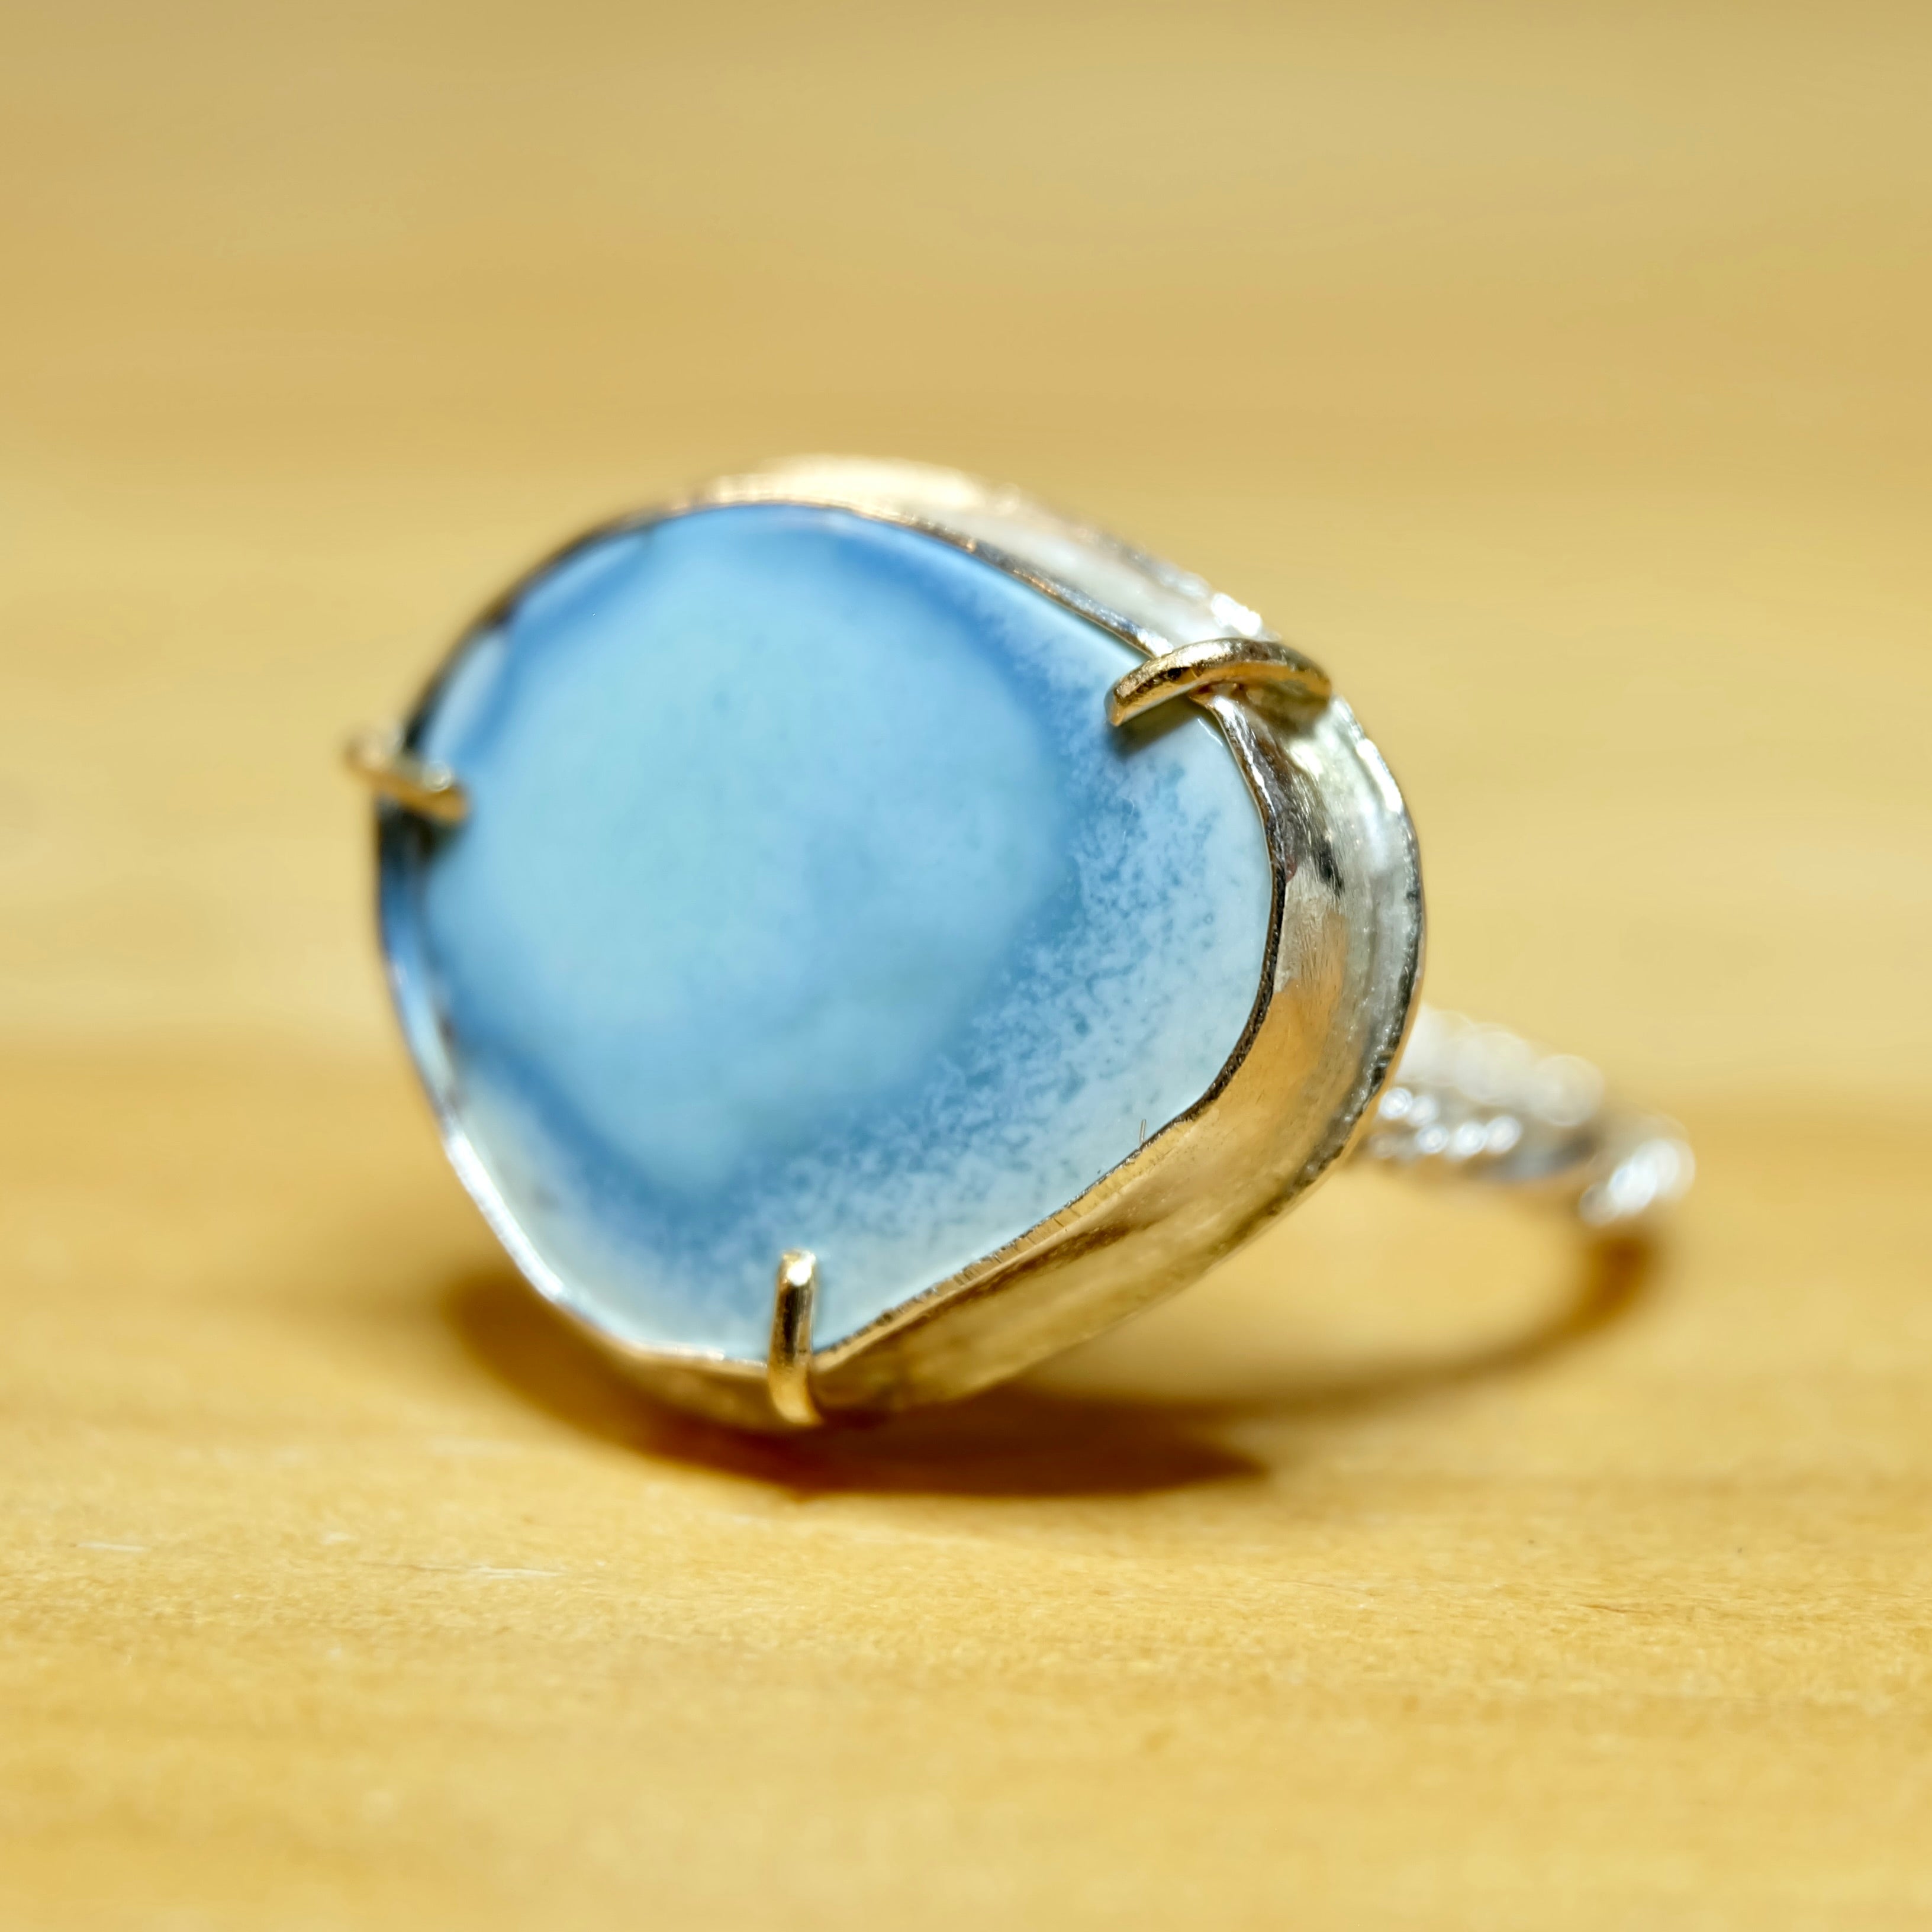
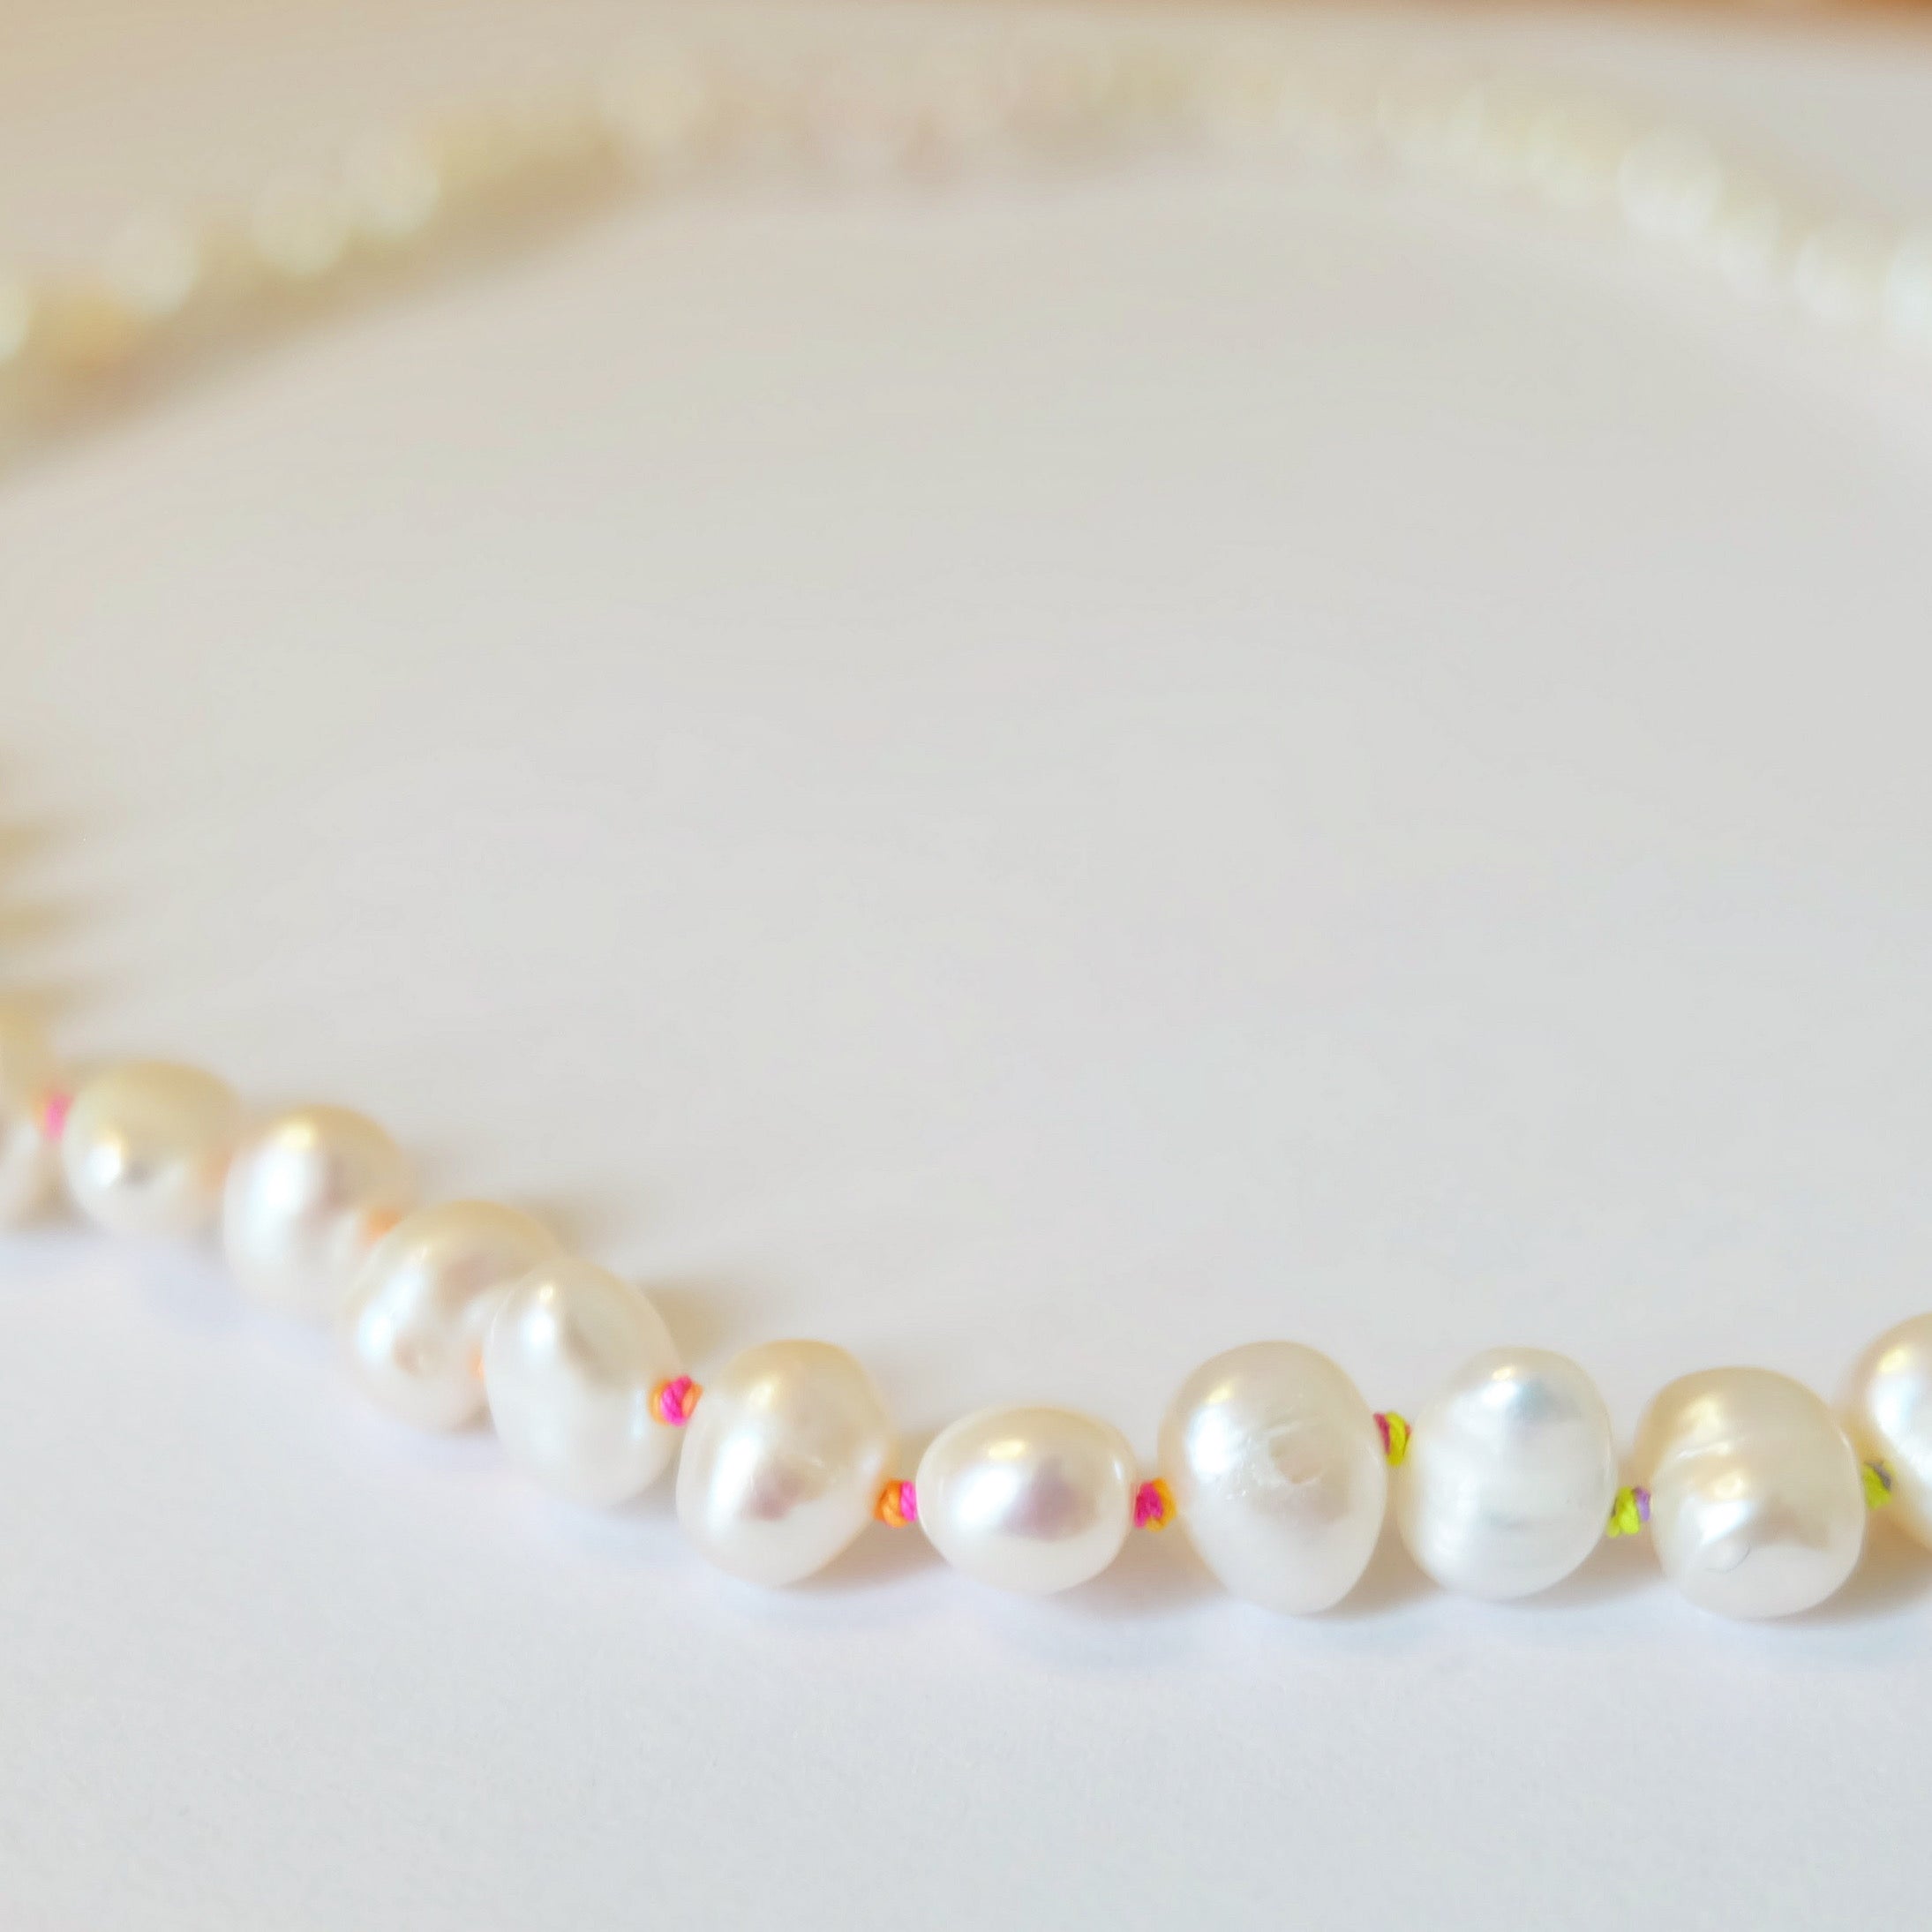
Understanding your camera settings is key to capturing high-quality jewelry photos. Use a macro lens or the macro setting on your camera to capture fine details. A tripod is essential for keeping your camera steady and achieving sharp images. Set your camera to a low ISO to minimize noise and use a small aperture (high f-stop number) for a greater depth of field.
Experiment with different angles to find the most flattering perspective for each piece of jewelry. Straight-on shots, angled views, and close-ups can all highlight different aspects of the jewelry. Take multiple shots from various angles to ensure you have plenty of options to choose from during the editing process.
Editing Your Photos for a Professional Finish
Editing is the final step in achieving professional-looking jewelry photos. Use photo editing software like Adobe Lightroom or Photoshop to enhance your images. Adjust the brightness, contrast, and saturation to make the colors pop. Use the sharpening tool to bring out fine details and remove any imperfections or dust spots.
Be mindful not to over-edit your photos. The goal is to enhance the natural beauty of the jewelry, not to create an unrealistic image. Keep a consistent editing style to maintain a cohesive look across all your photos. With practice, your editing skills will improve, and your jewelry photos will look polished and professional.