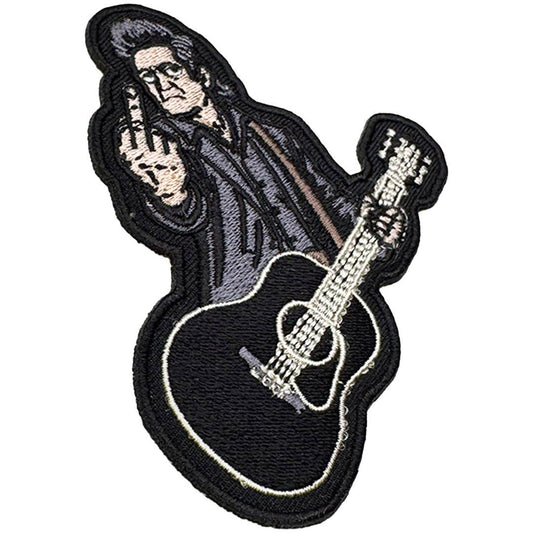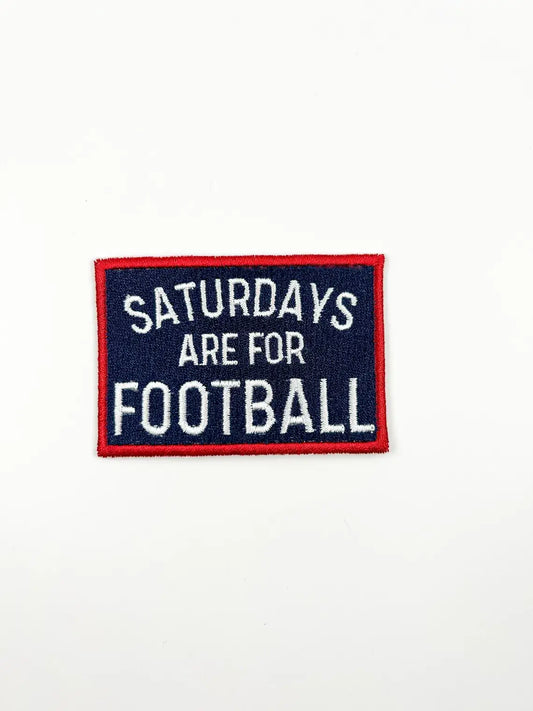
Personalize your style with our collection of 100% premium embroidered iron-on patches. Engineered with high-density rayon thread and a heat-activated adhesive backing, these durable appliques add instant personality to denim jackets, canvas tote bags, commuter backpacks, hoodies, and hats.
Explore Our Patch Collections
-
Coastal & Beach — Pastel seashells, palm trees, and ocean waves. Built for summer canvas totes, beach bags, and resort wear.
-
College Football — Classic team colorways, varsity block lettering, and helmets. Made for stadium bags, tailgating hoodies, and game-day denim.
-
Funny Sayings — Sarcastic text, internet culture quotes, and bold typography. A quick way to make a statement on commuter backpacks or laptop sleeves.
-
Retro & Vintage — 70s-inspired wavy fonts, grooved color palettes, and nostalgic icons that pair naturally with thrifted and vintage denim.
-
Botanical & Floral — Intricate stitching of wild sunflowers, delicate roses, and minimalist monstera leaves — a soft counterpoint to rugged utility gear.
-
Western & Cowboy — High-density embroidery featuring cowboy boots, desert cacti, and lucky horseshoes for a festival-ready look.
Placement Guide: Best Gear for Embroidered Patches
| Placement Location |
Recommended Patch Styles |
Application Method |
| Denim Jacket (Back or Chest) |
Retro, Floral, Western |
Iron-on or sew-on |
| Canvas Tote Bags |
Coastal, Botanical, Funny Sayings |
Iron-on (highly permanent) |
| Backpacks & Laptop Sleeves |
Funny Sayings, Retro |
Iron-on (check material first) |
| Hoodies & Sweatshirts |
College Football, Coastal |
Iron-on + light perimeter stitch |
| Baseball Caps & Beanies |
College Football, Mini Western |
Sew-on or fabric glue |
Note on caps and beanies: curved, thick surfaces make it hard for an iron to apply even pressure, which is why we recommend sewing or fabric glue instead of heat for these items.
How to Iron a Patch: Step-by-Step
-
Prep the material. Lay your garment flat on a hard, heat-resistant surface. Pre-iron the fabric to remove wrinkles and moisture.
-
Set the temperature. Use a dry iron on its highest cotton setting (270°F–300°F). Turn steam off completely — moisture prevents the adhesive from bonding.
-
Position and cover. Place the patch face up, then cover it with a thin pressing cloth, cotton towel, or parchment paper to protect the embroidery.
-
Apply firm pressure. Press straight down for 30 seconds. Don't slide the iron back and forth.
-
Seal the reverse side. Turn the garment inside out and iron directly over the back of the patch area for 15 seconds to melt the adhesive into the fabric fibers.
-
Cool and inspect. Let it cool for 5 minutes, then gently test the edges with a fingernail. If any section lifts, repeat steps 4–5 for another 10 seconds.
Frequently Asked Questions
Why is my iron-on patch peeling off?
Peeling usually comes down to one of three causes: steam was used during application, not enough downward pressure was applied, or the patch was ironed onto an incompatible synthetic fabric. If a patch loosens after washing, just reapply heat through a pressing cloth for 15 seconds to reactivate the adhesive. If it's on a high-friction area like a backpack strap or pocket edge, a quick perimeter stitch will secure it permanently.
What fabrics are compatible with iron-on adhesive?
Our patches bond permanently with heavy, heat-resistant natural fibers — 100% cotton canvas, denim, sturdy twill, wool, and heavy linen. Avoid ironing onto 100% synthetic or heat-sensitive fabrics like nylon, polyester, or silk, since they'll melt under high heat.
Do I need to sew these patches?
No — sewing isn't required for canvas bags or denim jackets. We do recommend a few anchor stitches around the perimeter for highly elastic clothing, hats, or anything that goes through frequent machine washing.
Are these patches machine washable?
Yes. To protect the embroidery, turn the item inside out, wash on a gentle cycle with cold water, and air dry.